Great work.
-D
I sanded and put a second coat of Danish oil on the big table #2 tonight. It should be ready for coat #3 anytime tomorrow.
3rd coat applied to biggy #2
Thanks to everyone who came out and helped get the tables moving forward again on Saturday! (Will B., Greg A., Dave V., Ryan H., and whoever else I forgot due to being tired from a day of work)
for anyone who hasn’t been in in a while, you should check these things out, they are a pleasure to work on!
The two big tables in the general area and the standing welding table are 100% done!
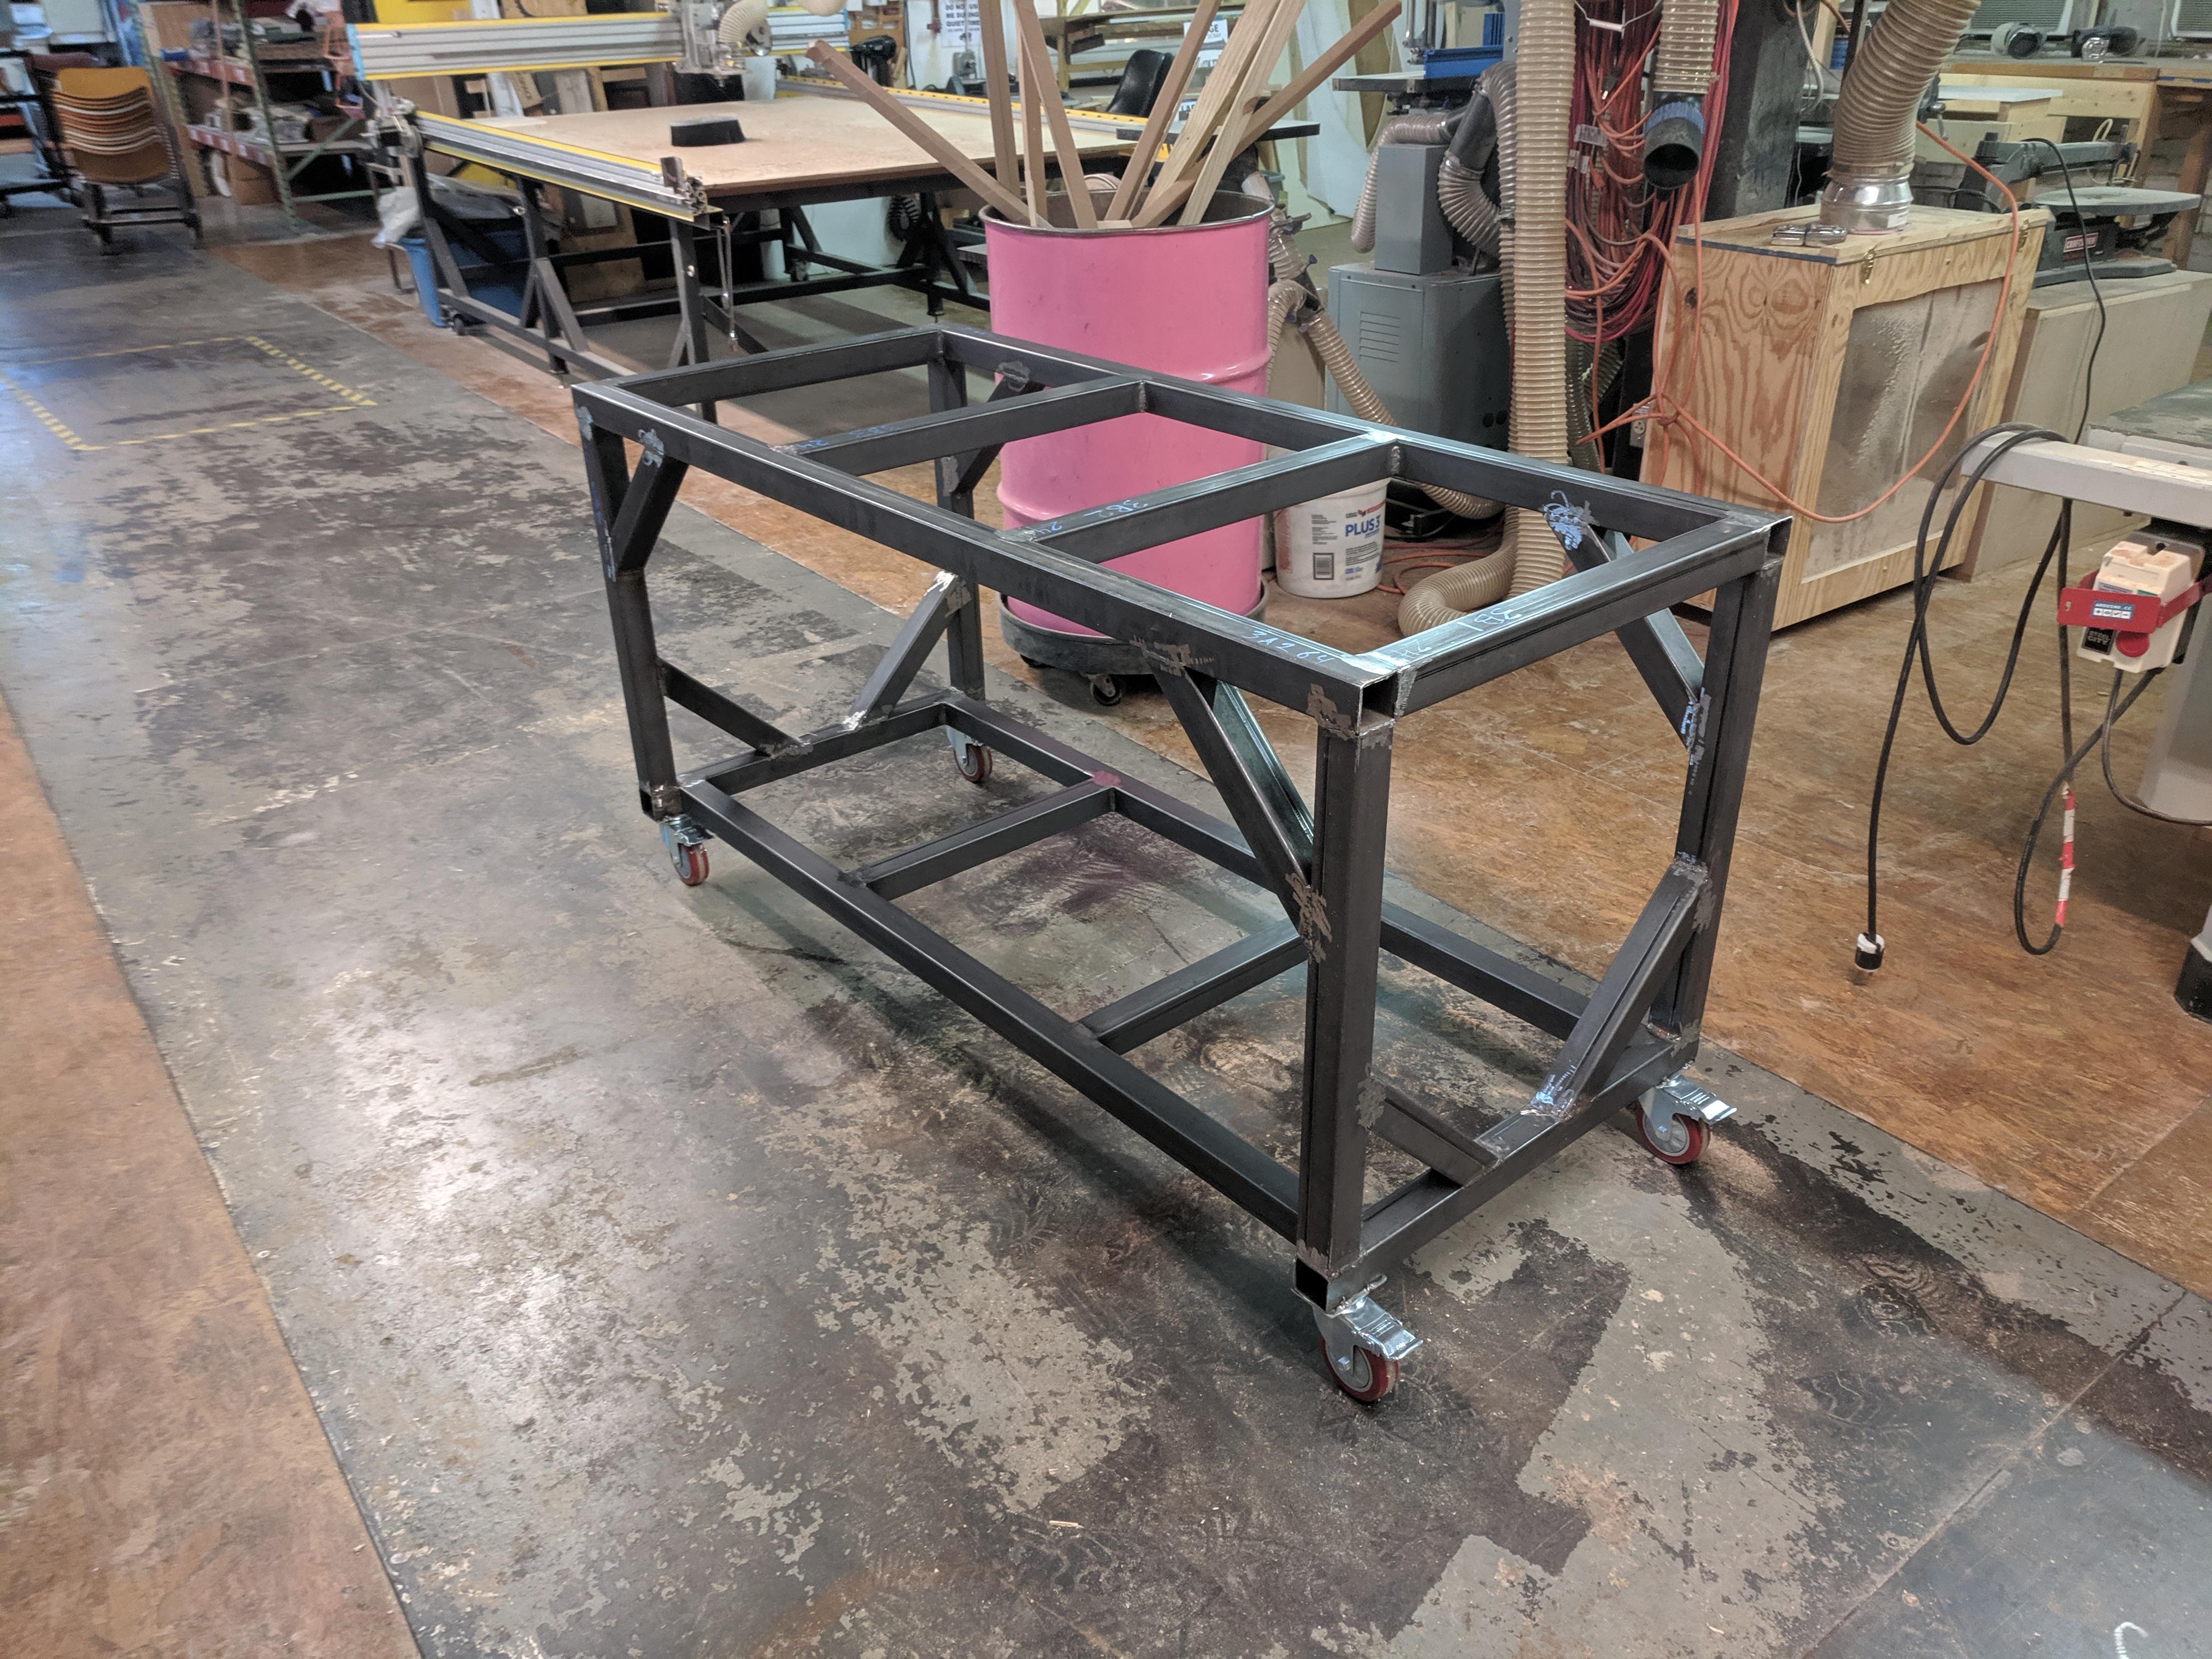
This weekend, we made big progress of getting the Fab Lab table and Sitting Welding table done. the TO DO list now looks like:
Big Work Table #1: DONE!
Standing Welding Table: DONE!
Big Work Table #2: DONE!
Fab Lab Work Table: (sitting in general area)
-
Drill shelf and top mounting holes in frame
-
Wire brush welds, and wipe frame with acetone to prep for paint
-
Paint frame black
-
Cut corner notches in shelf and round over edges (shelf cut, sitting on top)
-
Pre-drill shelf and install
-
Trim top layers flush to each other with router (top is sitting on the frame)
-
Round top and bottom corners and edges of the top
-
Pre-drill top and install the top
-
sand edges
-
1st coat of varnish
-
2nd coat of varnish
-
3rd coat of varnish
-
Touch up paint
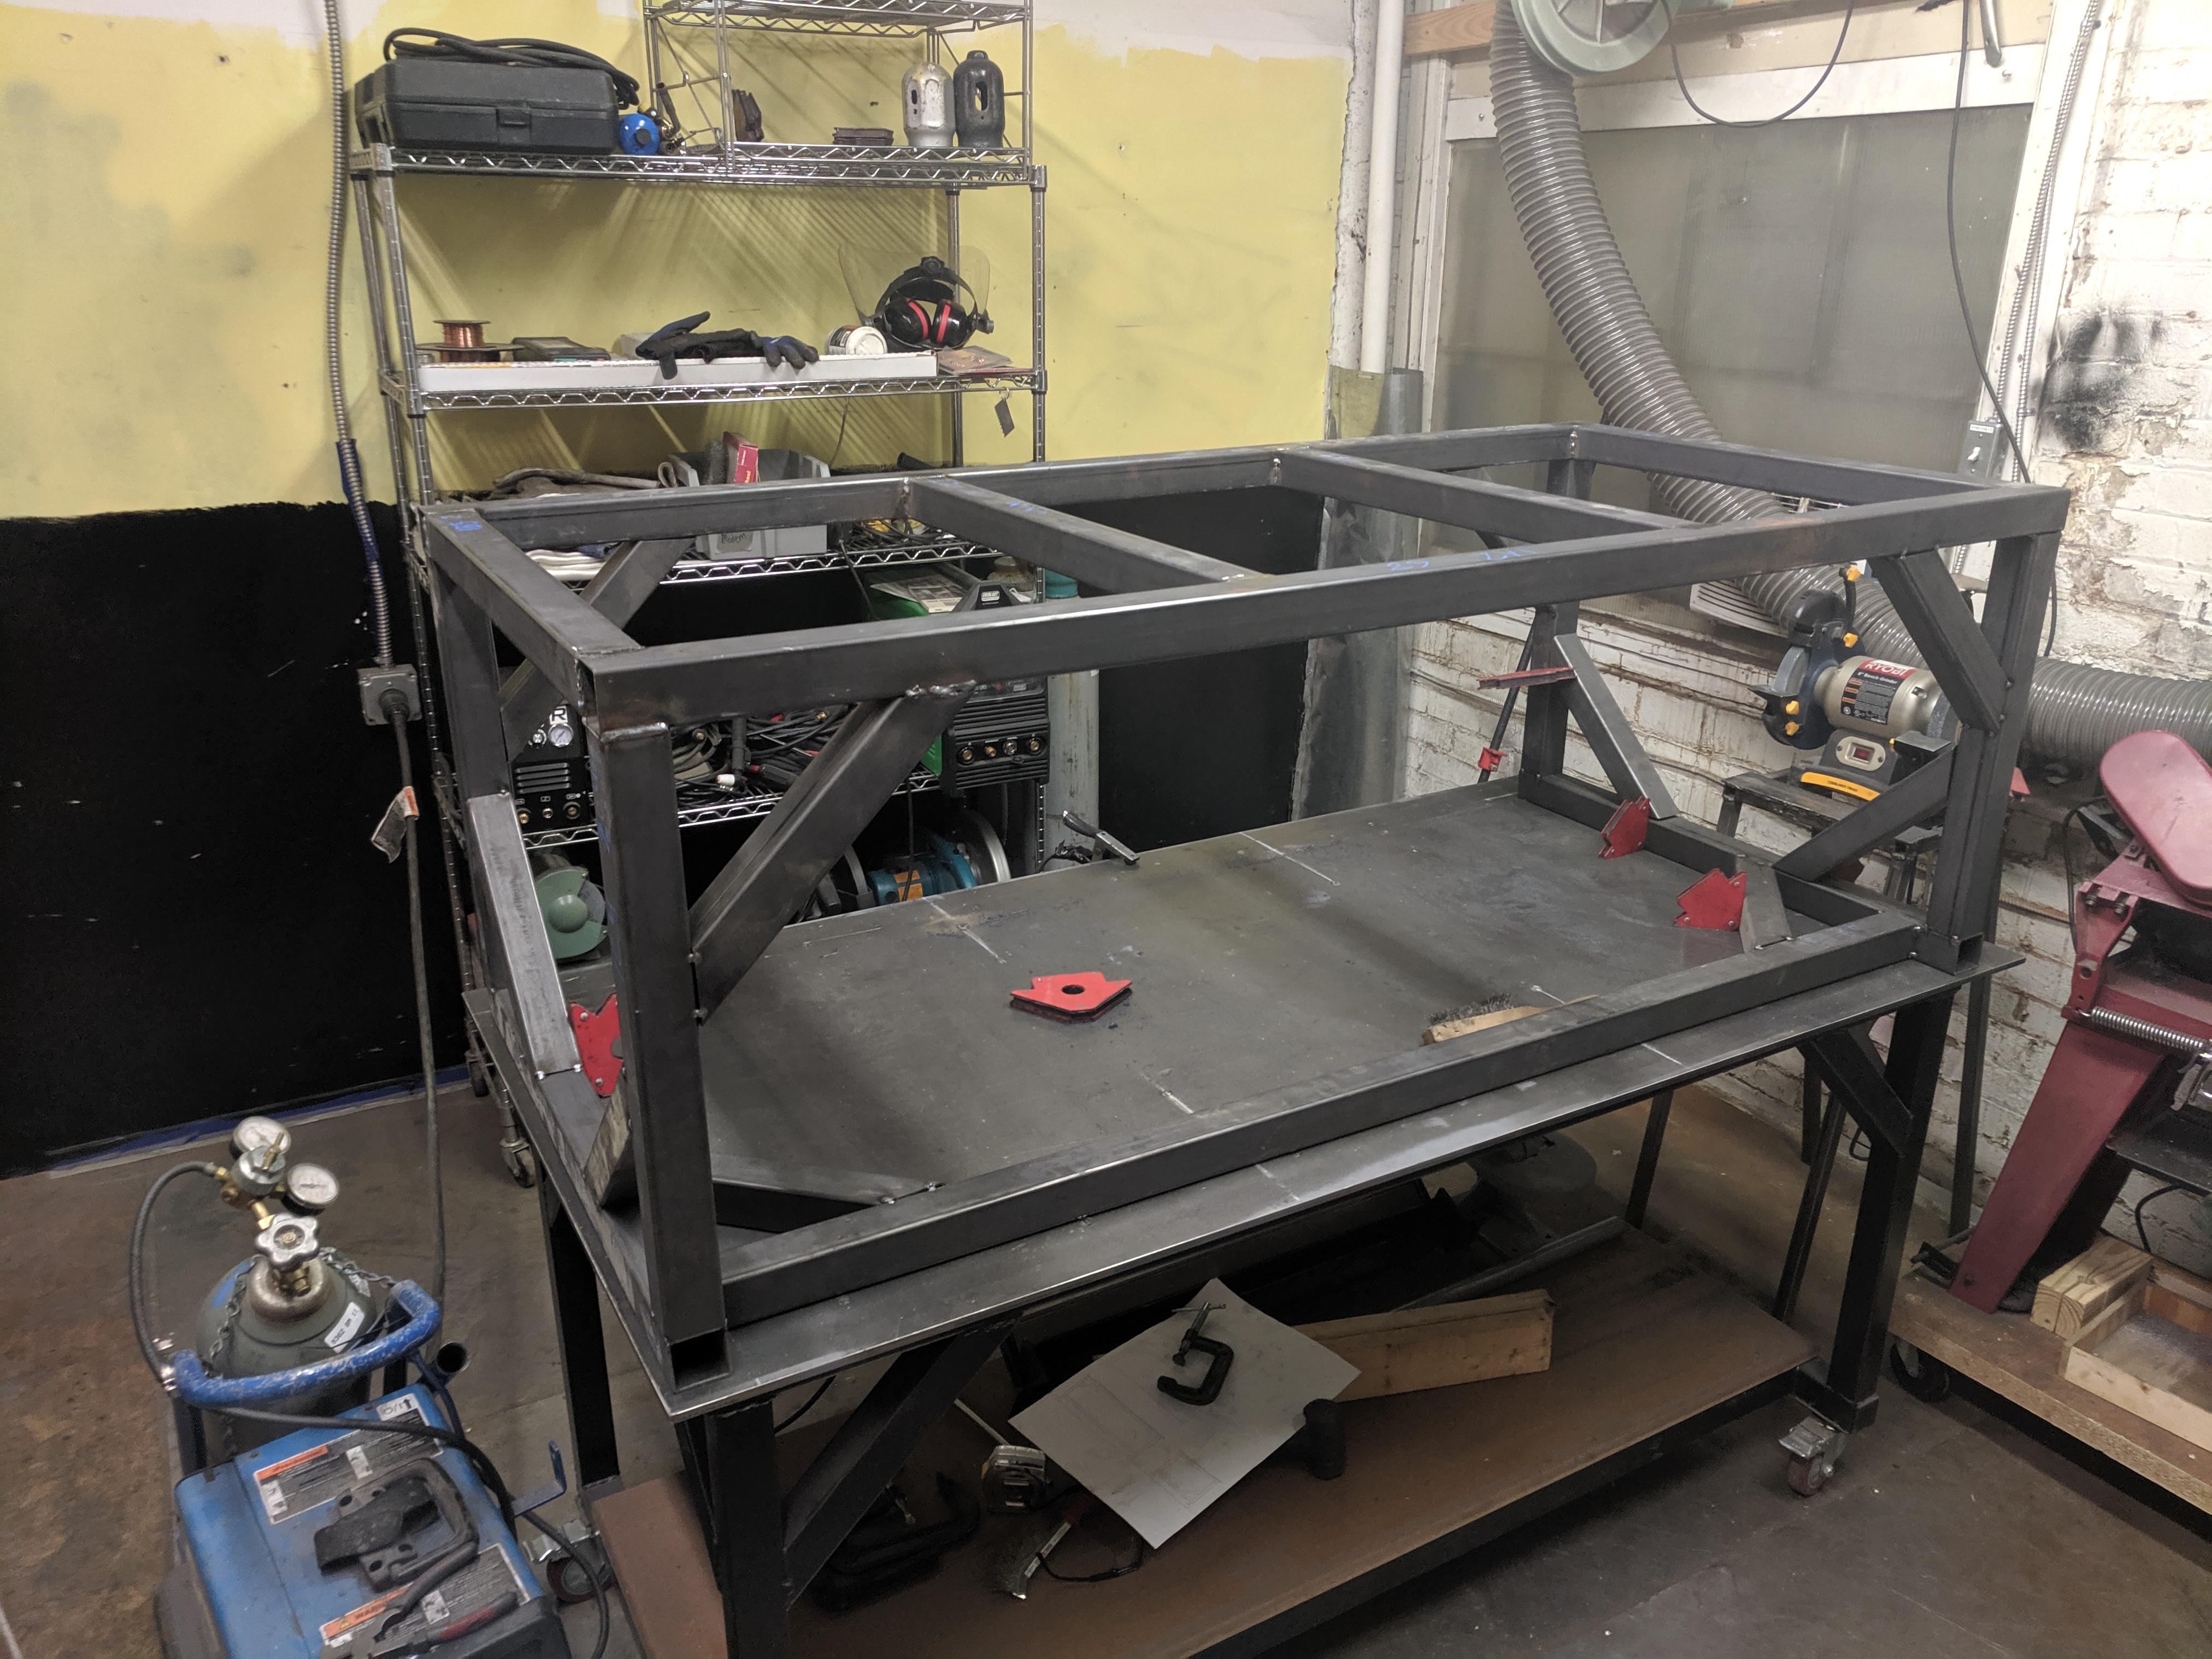
Sitting Welding Table: (on top of the finished weld table) -
Finish out welds, full frame is tacked together
-
Tack on casters
-
Grind down welds in way of shelf and top
-
Drill top mounting holes in frame (top is drilled, center the top on the frame and match drill through the top)
-
Wire brush welds, and wipe frame with acetone to prep for paint
-
Paint frame black
-
Bolt and shim top to frame
-
Break sharp corners and edges on top
-
Clean and oil top
Thanks everyone who has helped, and I hope everyone is enjoying these tables being available to work on!
-Kevin M.
I finished welding the small table frame last night after the board meeting. Noise curfew prevented the angle grinder work necessary to conceal my terribleness, so that’s probably next on the list.
- Ry


So nice.
-D
Sweet!
Thanks Ryan!
for anyone interested in helping get these done, feel free to jump in at any time and do what you can! here is the list of remaining tasks (roughly in order):
Fab Lab Work Table: (sitting in general area)
-
Drill mounting holes in frame for top and shelf (use mag-base drill, appropriate clearance hole size drill is in the box with the hardware)
-
wipe frame with acetone to prep for paint
-
Paint frame black
-
Cut corner notches in shelf and round over edges (shelf cut, next to CNC)
-
Pre-drill shelf and install
-
Trim top layers flush to each other with router flush trim bit (top is sitting on the frame)
-
Round over top and bottom edges of the top with the router
-
Pre-drill top and install
-
sand edges of shelf and top
-
1st coat of varnish
-
2nd coat of varnish
-
3rd coat of varnish
-
Touch up paint
Sitting Welding Table: (on top of the finished weld table) -
grind down lumpy welds
-
Tack on casters
-
Grind flush the welds in way of shelf and top
-
Drill top mounting holes in frame (top is drilled, center the top on the frame and match drill through the top with the mag-base drill, 2" overhang on all edges of the top)
-
Wire brush welds, and wipe frame with acetone to prep for paint
-
Paint frame black
-
Bolt and shim top to frame
-
Break sharp corners and edges on top w/ angle grinder flap disk
-
Clean and oil top
I’ll commit to doing some sanding and/or oiling the shelf and/or top on the weekend if it hasn’t been done by then.
Sounds good! Though, note that those things will require that someone have done the other things that need to be done first (flush trimming, notching corners, roundovers on edges).
We did.
Yesterday.

Awsome!
The holes are also drilled for top and shelf mounting. Seems that the frame is ready for a final wipe down and paint.
The MDF parts are sanded and ready for oil/varnish.
I think I could help with wipedown and paint,
And possibly the top finishing
I have to do something right after work today. But I may be down there later.
Nancy
Hey Kevin I didn’t make it down there last night, I’m planning to be down there tonight. Which tables need the wipe down, and where is the materials and paint for this? Is it going to be okay to paint them inside the hive or do they have to be rolled out to the loading dock?
Nancyg

Nancy, the 3’ x 6’ MDF table that is currently next to the can crusher is ready for frame wipe down with acetone and painting with black paint. The acetone and paint are both either in or on top of or next to the flammables cabinet. The paint is the same black paint we have been using for the Hive13 signage. We painted the previous ones inside, just put down one of the Polypropylene sheets by the CNC and rolled the table over it to catch spillage and went at it with the cheap brushes (also on or near the cabinet).
The table frame that is currently up on the welding table also needs paint, but it has not yet had it’s casters put on, welds ground down, or been drilled for it’s top(I think). So probably needs to have those items done before ready for paint.
Thanks,
Kevin M.
Tables for Daaaaayyyyyyys
The sitting weld table (next to the surface grinder) got it’s casters last night (thanks Will), and the FabLab table (over by the kitchen) got a sweet paint job (thanks Nancy).
It’s getting so we can see the light at the end of the tunnel, this build project is so close to complete!
The next steps for each are:
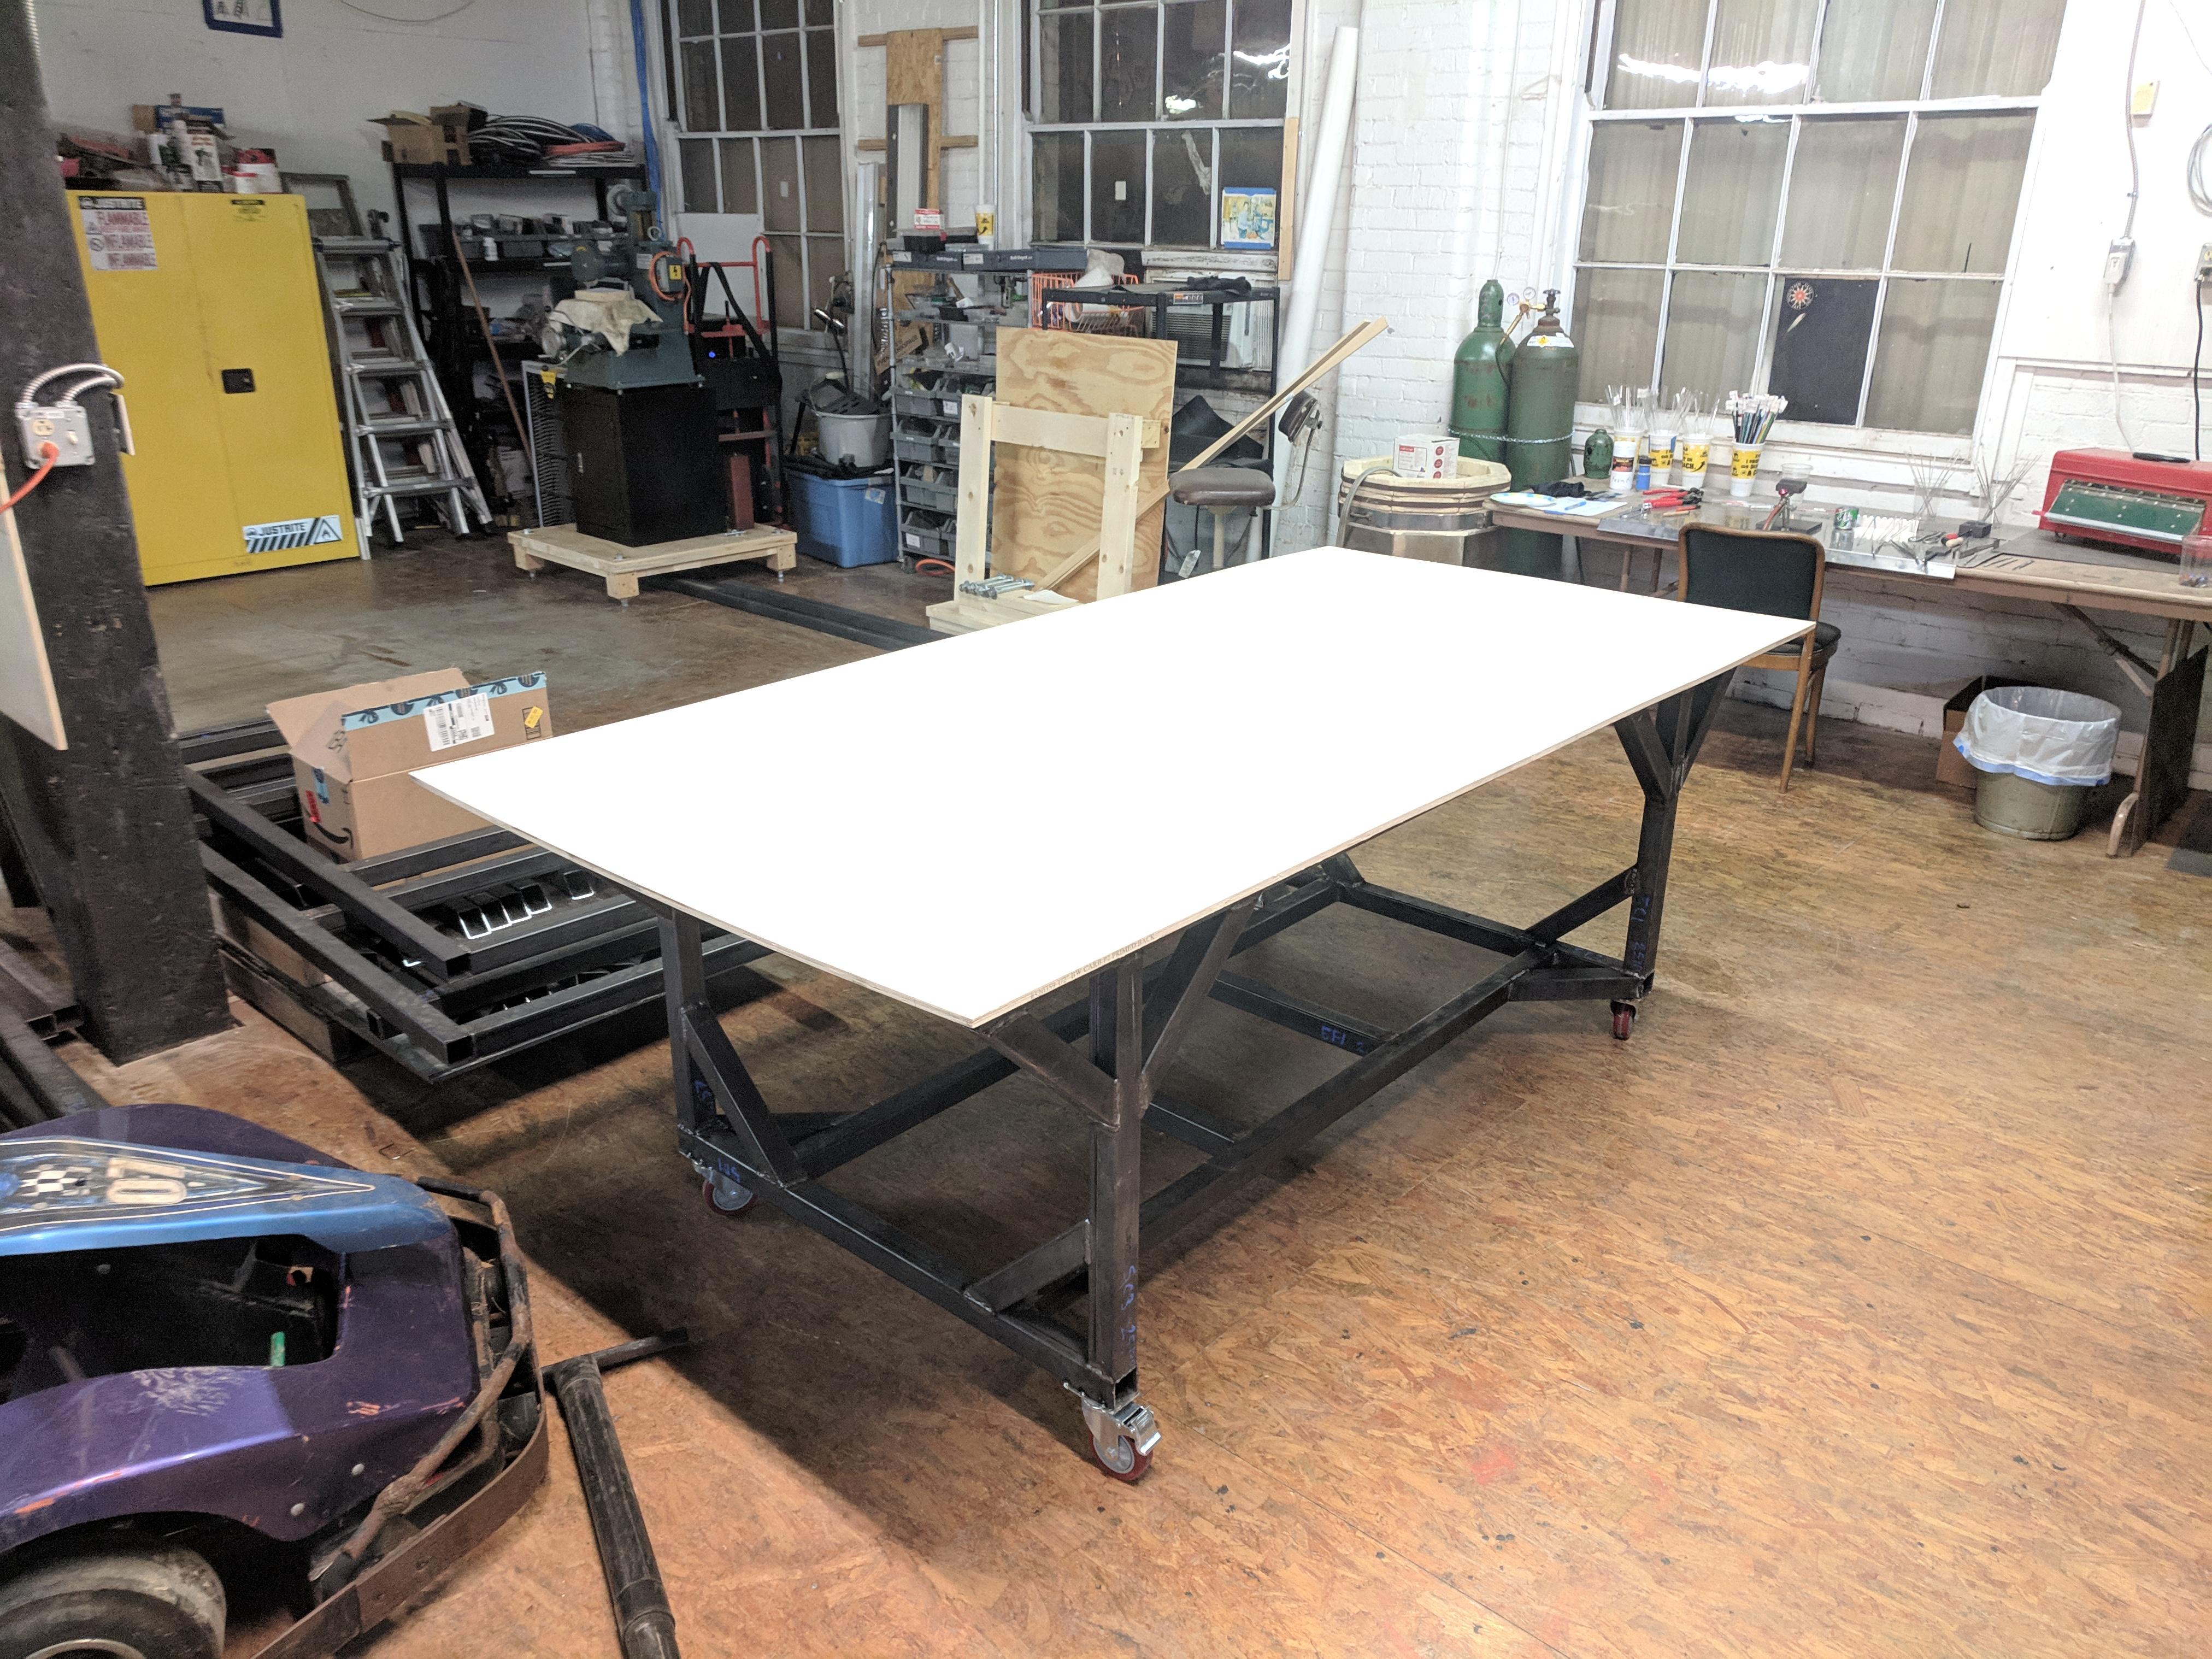
Fab Lab Work Table: (in general area closest to kitchen)
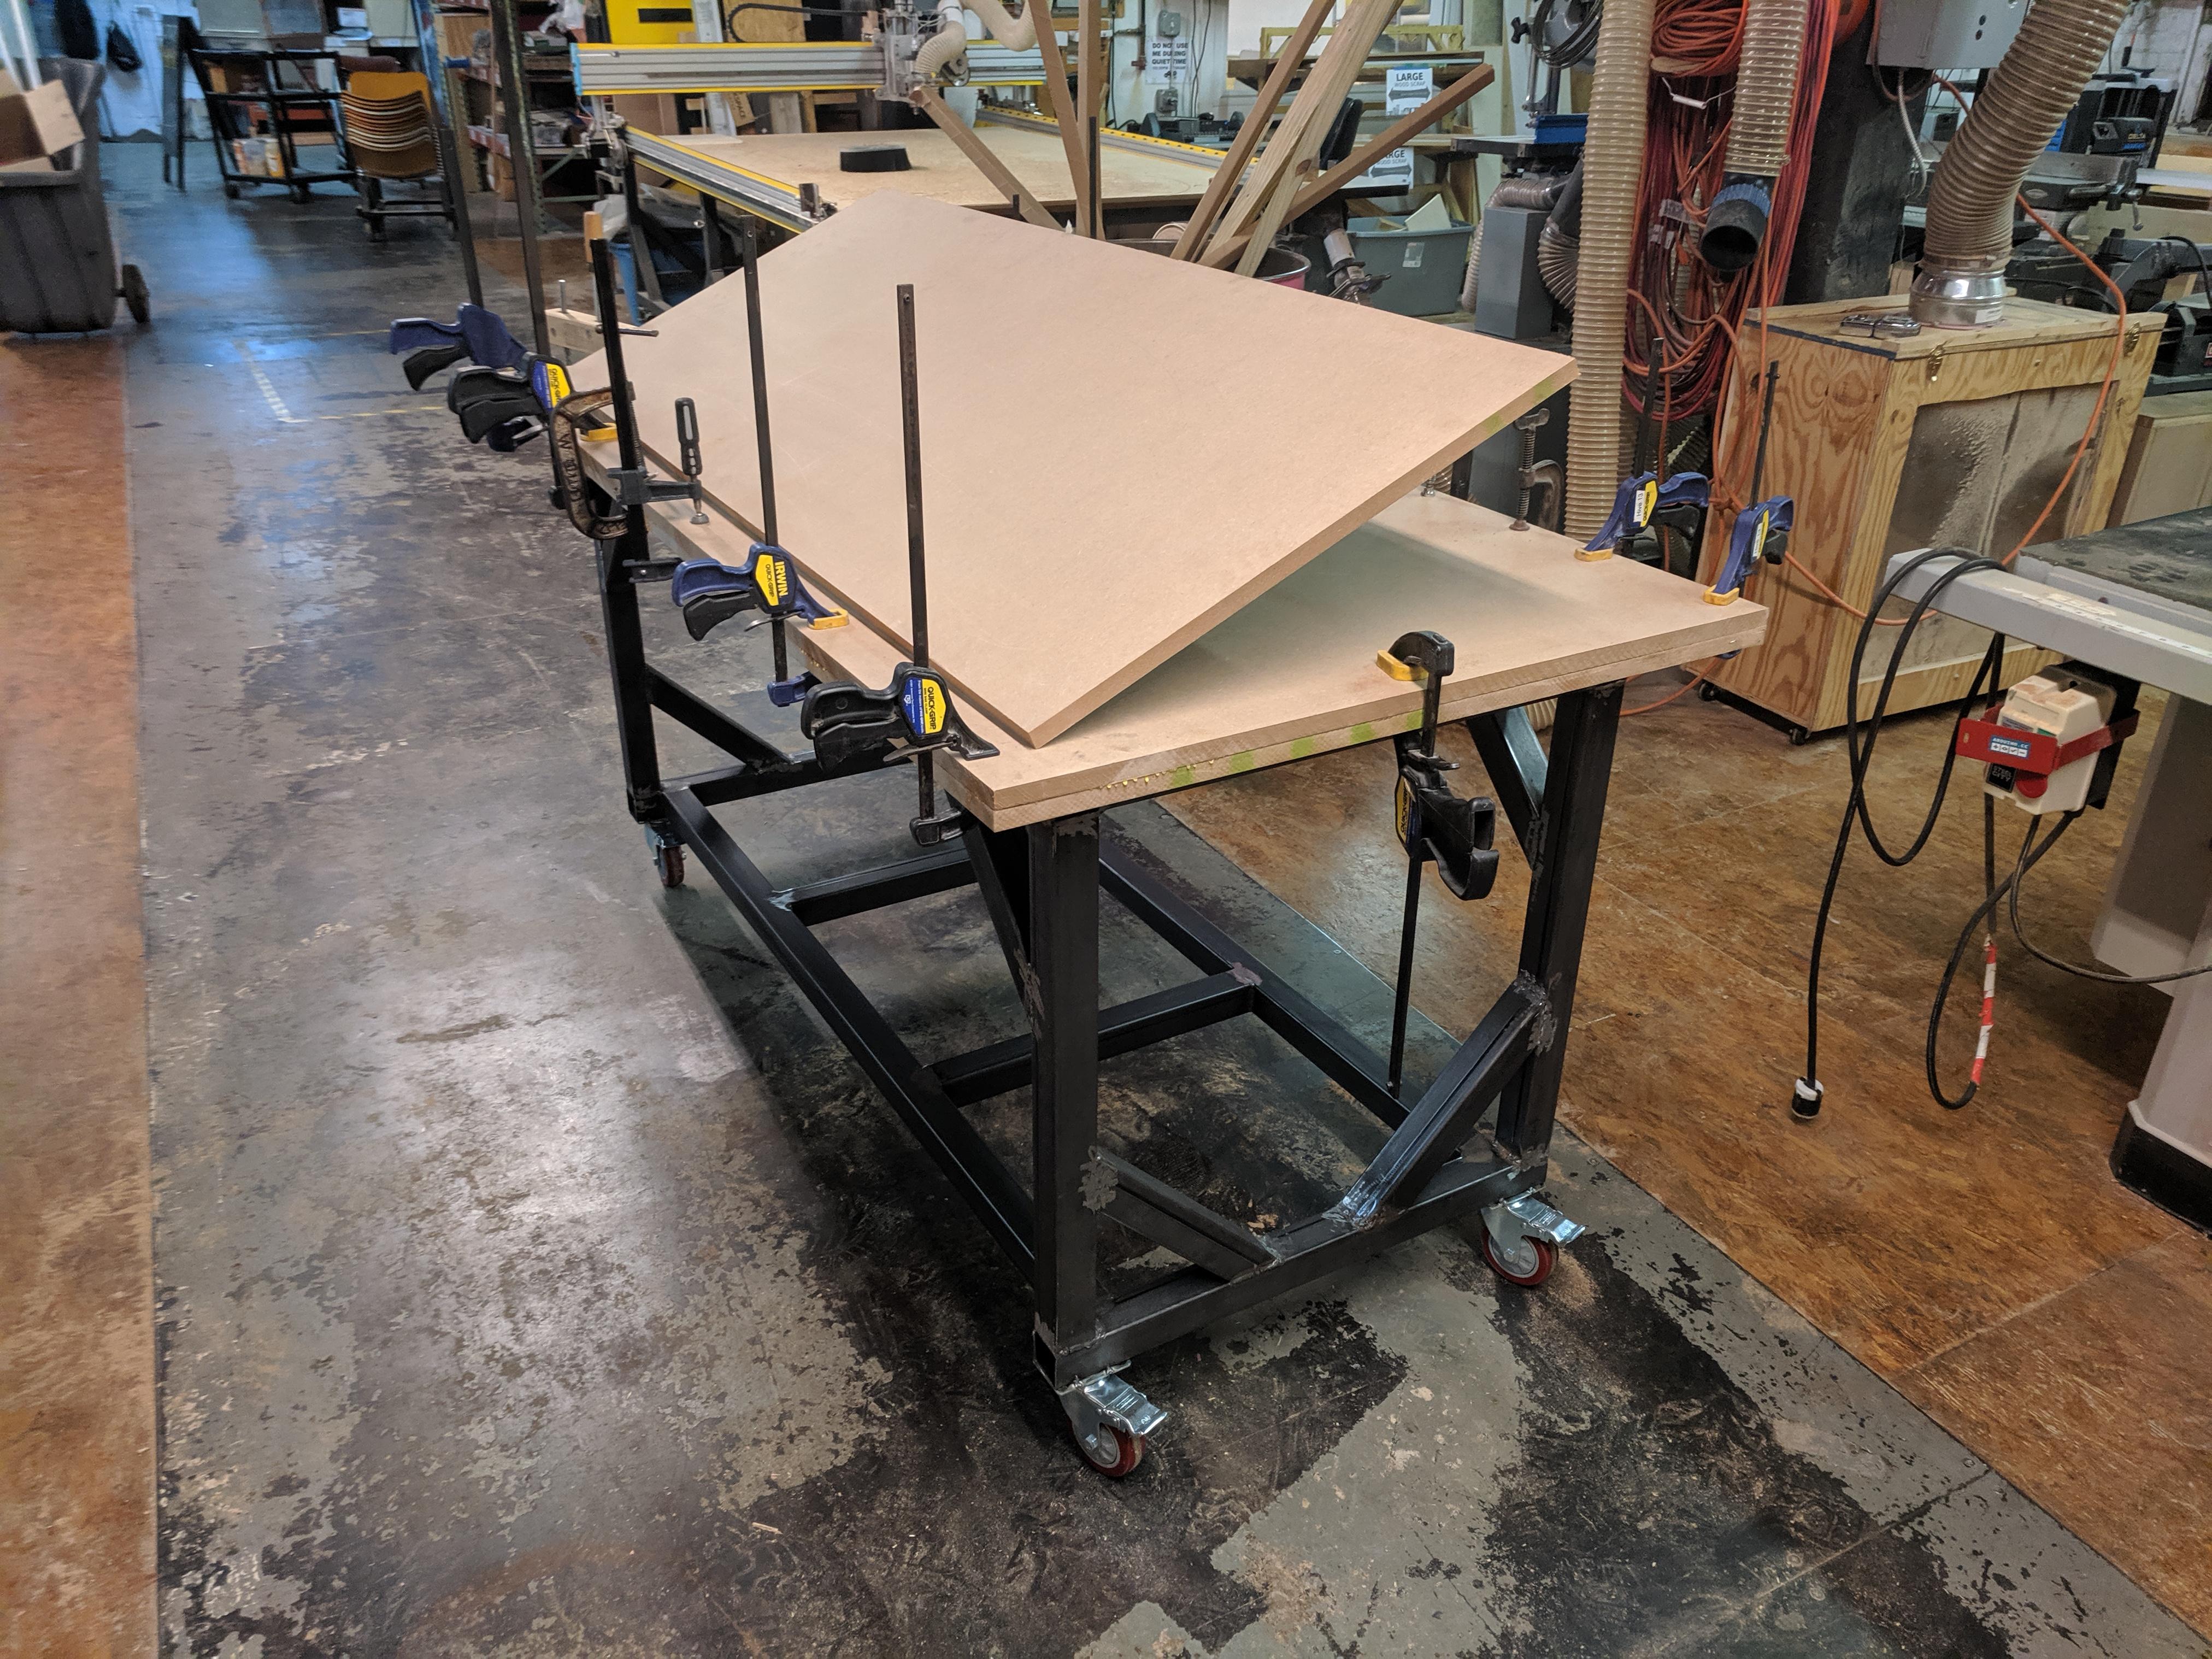
- Match-drill shelf and top to the holes in the frame (shelf and top are next to the CNC, top should have 4" overhang on all sides)
- Install the shelf and top (using 1/4" hex head wood screws and washers in the box on the sitting weld table)
- 1st coat of varnish
- 2nd coat of varnish
- 3rd coat of varnish
- Touch up paint
Sitting Welding Table: (in general area next to surface grinder)
- Grind down the lumpy welds
- Drill mounting holes for the top in the frame (top is drilled, center the top on the frame and match drill through the top with the mag-base drill, 2" overhang on all edges of the top)
- Wipe frame with acetone to prep for paint
- Paint frame black
- Bolt and shim top to frame (1/4" countersunk screws, washers, nuts, and shims are in the box on the table)
- Break sharp corners and edges on top w/ angle grinder flap disk
- Clean and oil top
Thanks everyone for all the help!
-Kevin M.
There was a bit more work done on the tables this weekend, they are so very close to being done! The FabLab table just needs lots of the danish oil wiped on it’s MDF top and Shelf with rags now. The danish oil is in the bottom of the flammables cabinet.
The next steps for each are:
Fab Lab Work Table: (In general area by pole)
- 1st coat of varnish
- 2nd coat of varnish
- 3rd coat of varnish
- Touch up paint on frame
Sitting Welding Table: (in welding room back corner)
- Grind down the lumpy welds
- Drill mounting holes for the top in the frame (top is drilled, center the top on the frame with the countersinks up and match drill through the top with the mag-base drill, 2" overhang on all edges of the top)
- Wipe frame with acetone to prep for paint
- Paint frame black
- Bolt and shim top to frame (1/4" countersunk screws, washers, nuts, and shims are in the box on the table)
- Break sharp corners and edges on top w/ angle grinder flap disk
- Clean and oil top
If you can help me remember, If the table is in the metal room on Thursday, I can grind down the welds on the table while I’m grinding welds on the power racer.
I threw a coat or two of danish oil on the table last night. I dumped puddles of oil on it and pushed the puddle around till it disappeared, which did not take too long.