Although it’s less spoiled, the thinner it gets, the more nail holes there are going to be in the “bed” (underneath the spoil board).
At some point it does need to be replaced with a new, 3/4" piece of MDF. (To hold, nails are going to be 1/4-1/2" into the spoil board, or through it, if it’s too thin.)
Also, the bed might benefit from being a 3/4" piece of MDF, too. (stiffer)
If the cost (compared to the rest of the CNC router, I don’t think MDF is even a blip on the screen) of 3/4" MDF is so much, replace the bed first, then move the former bed
up to duty as the next spoil board.
I agree with John. Home depot has the mdf at $20 per sheet, which is about the price of the cutter head Tim used to surface the board and can easily be ruined by hitting a few nails. And that's before we talk about the half day Tim spent baby sitting the router.
Wonderful accomplishment but i think this is a good time to spend some money.
Brad, I was chasing it with the shop vac so a majority ended up in there, Neither the shop vac or the dust collection got full either.
Jon, If we are replace the bed it would be a great time to consider making the whole bed as a vacuum board. I started a design in Vcarve for making a 4’x4’ Vacuum table(If it worked out I was going to do a second one to cover 4’x8’ between the two of them). The Vacuum table was in the original second phase of the CNC machine.
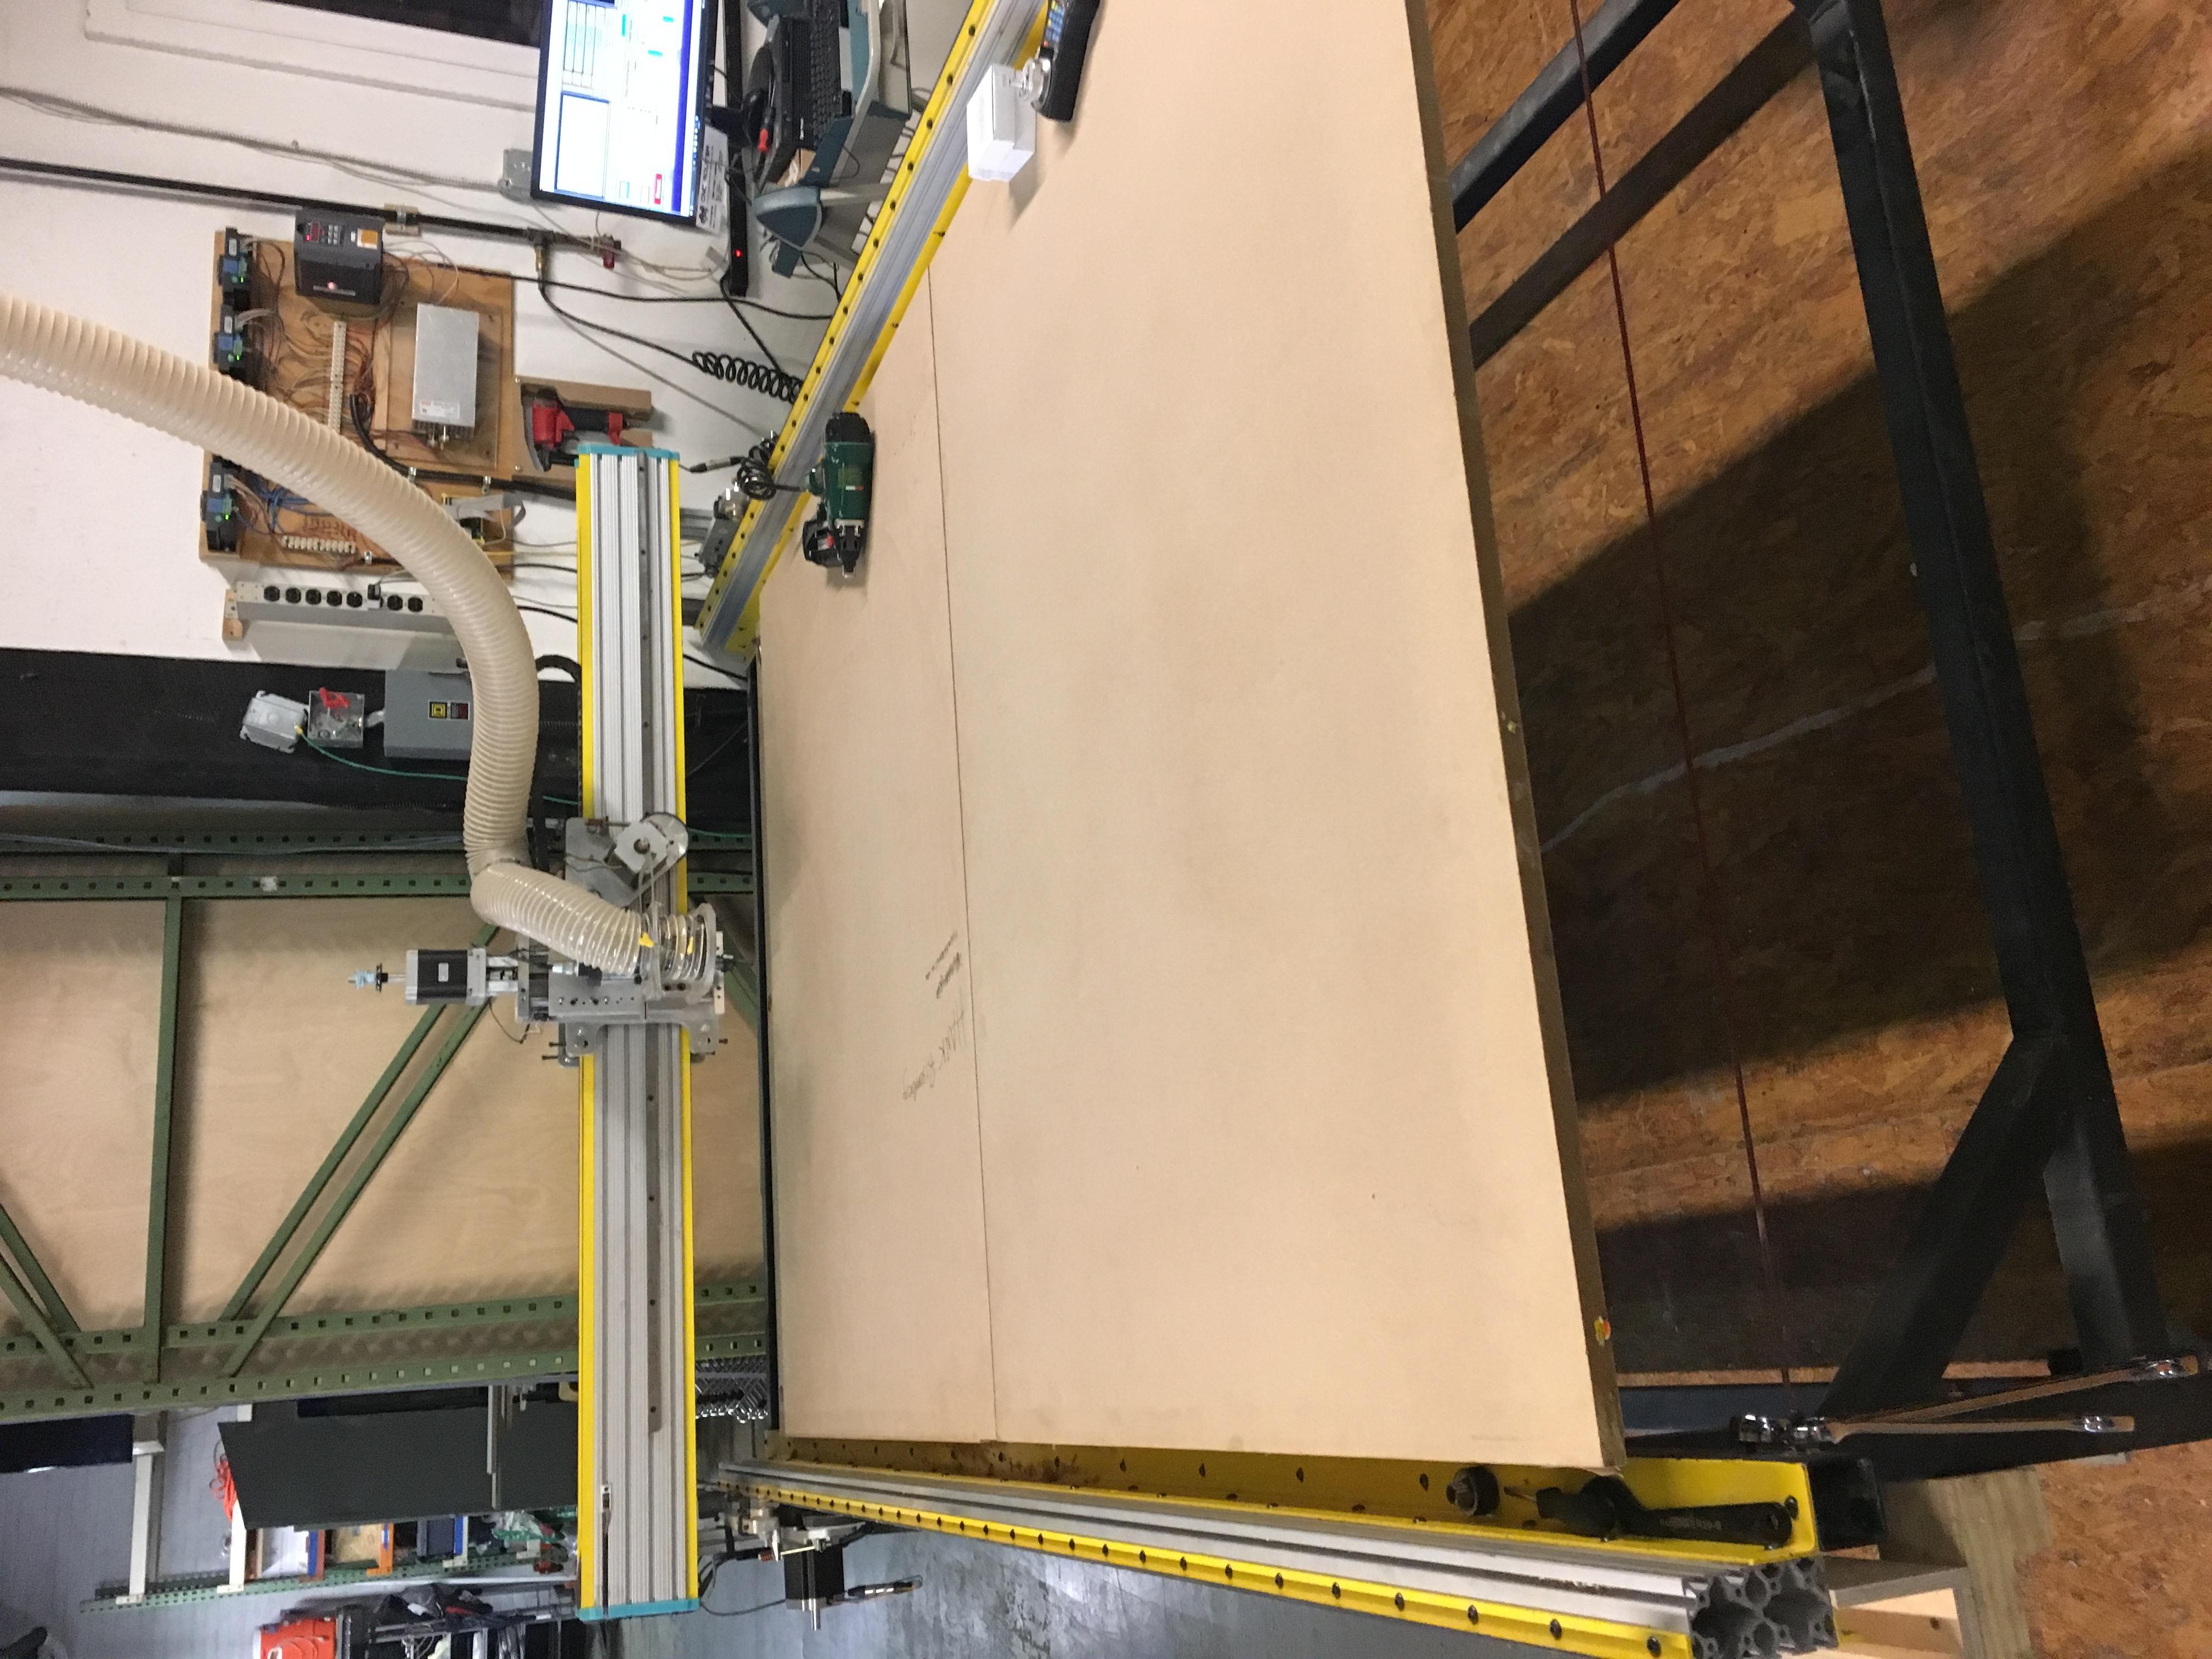
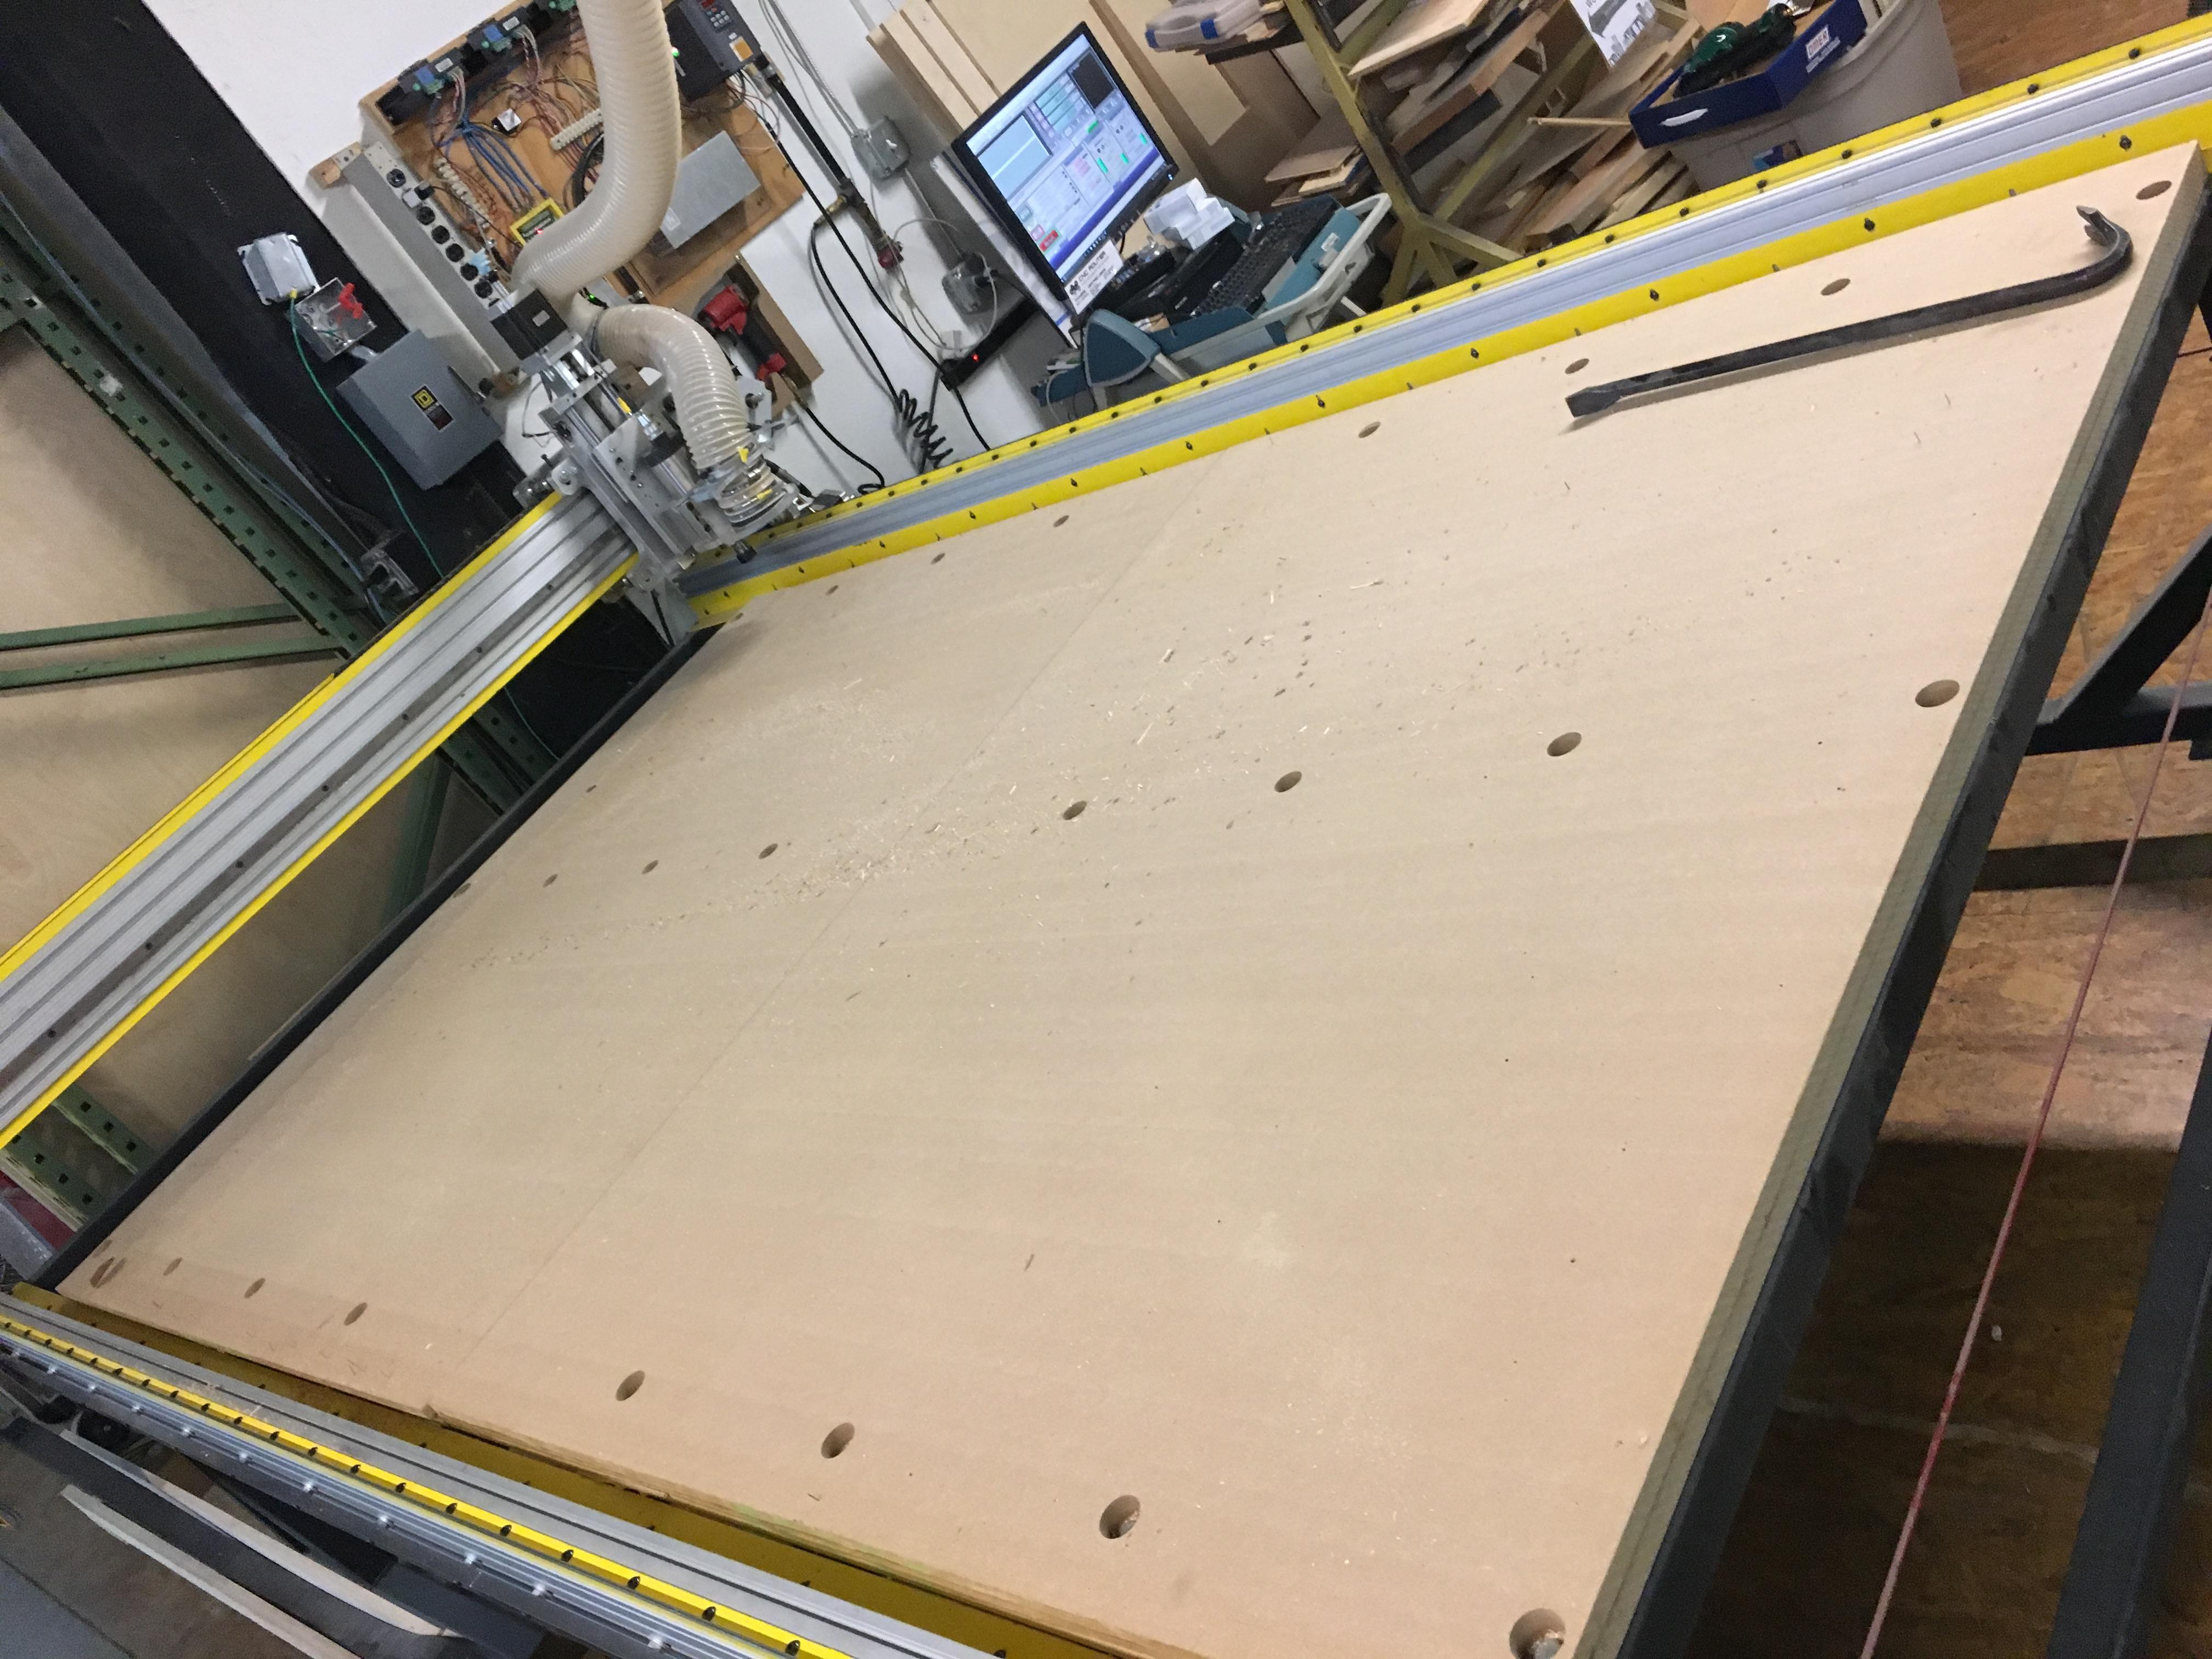
Today with some additional help from Coy, we managed to rip off the old spoil board and replace it with a fresh new spoil board.
Thanks for letting me borrow your Raptor Polymer Nail gun, I am tempted to put in a petition for the hive to get one too - RFC!
In the process of doing this I learned some things about the original design of the CNC that may or may not be documented somewhere. The original base that is bolted to the frame was placed too far north on the Y axis(or possibly the gantry was rotated 180 degrees) which prevented the gantry from going all the way to the top of the Y axis. As such when the additional layer was added to the base of the CNC the individual brought back the top lying spoil board so as to all the gantry and spindle to cover all the way to the far north of the Y axis.
So this forced me to again leave an over hang on the spoil board or lose the 8ft cutting length. As we have an overhang which is inevitably not as sturdy especially as we surface the spoil board, I think we need to place down an additional layer of MDF on the CNC machine. Coy has graciously offered to bring two 4’ x 8’ sheets of MDF to hive tomorrow to assist in completing the task.
Although the CNC machine is currently working and available for use please use the extra MDF located in the scrap pile as your spoil board until we get this additional layer down, trammed and planed hopefully tomorrow.
Just an FYI for everyone the limit switches are possibly getting feedback from the spindle. As soon as you turn the spindle on it shuts down because the switch gets triggered. The only way u can cut is to turn all of them off which I don’t suggest.
Just an inquiry:
if we need to add an extra 3/4" layer to allow a nice stiff base board under the full 8’ reach of the gantry,
would this be a good time to raise the router mount an inch on the gantry, to accommodate the new base board thickness?
There is plenty of room, our Z has good travel. We could even add more if we wanted. More concerned about the wiring and getting that right. On one limit switch (X axis) the wire came loose and took the pad with it so it needs to be replaced. This is in addition to the other problem where turning on the spindle trips another limit switch. It also appears that the red estop wire around the base needs adjusting. Tim and noticed some sensitivity issues.
I agree that getting things back to working is a first priority, I’m just saying “if a little Z travel is good, more is better (for certain values of the term “more” ; ) )”
If we are going to try for a vacuum table, recall that the base board will need to be sealed (not a big deal, just a couple coats of finish, but it needs to be done for the vacuum to work),
and we need to get some low-density fiberboard to cover the vacuum clamps to allow milling into a spoil board without milling into the vacuum clamp.
(Not that anyone would ever cut into the top of the clamp…on purpose ; ) )