Okay, sound like the plan will be:
“Breadboard 101: make a really useful breadboard set up for almost any simple project” &
“PCB making 101 - make a PCB for a breadboard power supply / regulator. Learn photo-etching to make DIY durable, reliable circuit boards.”
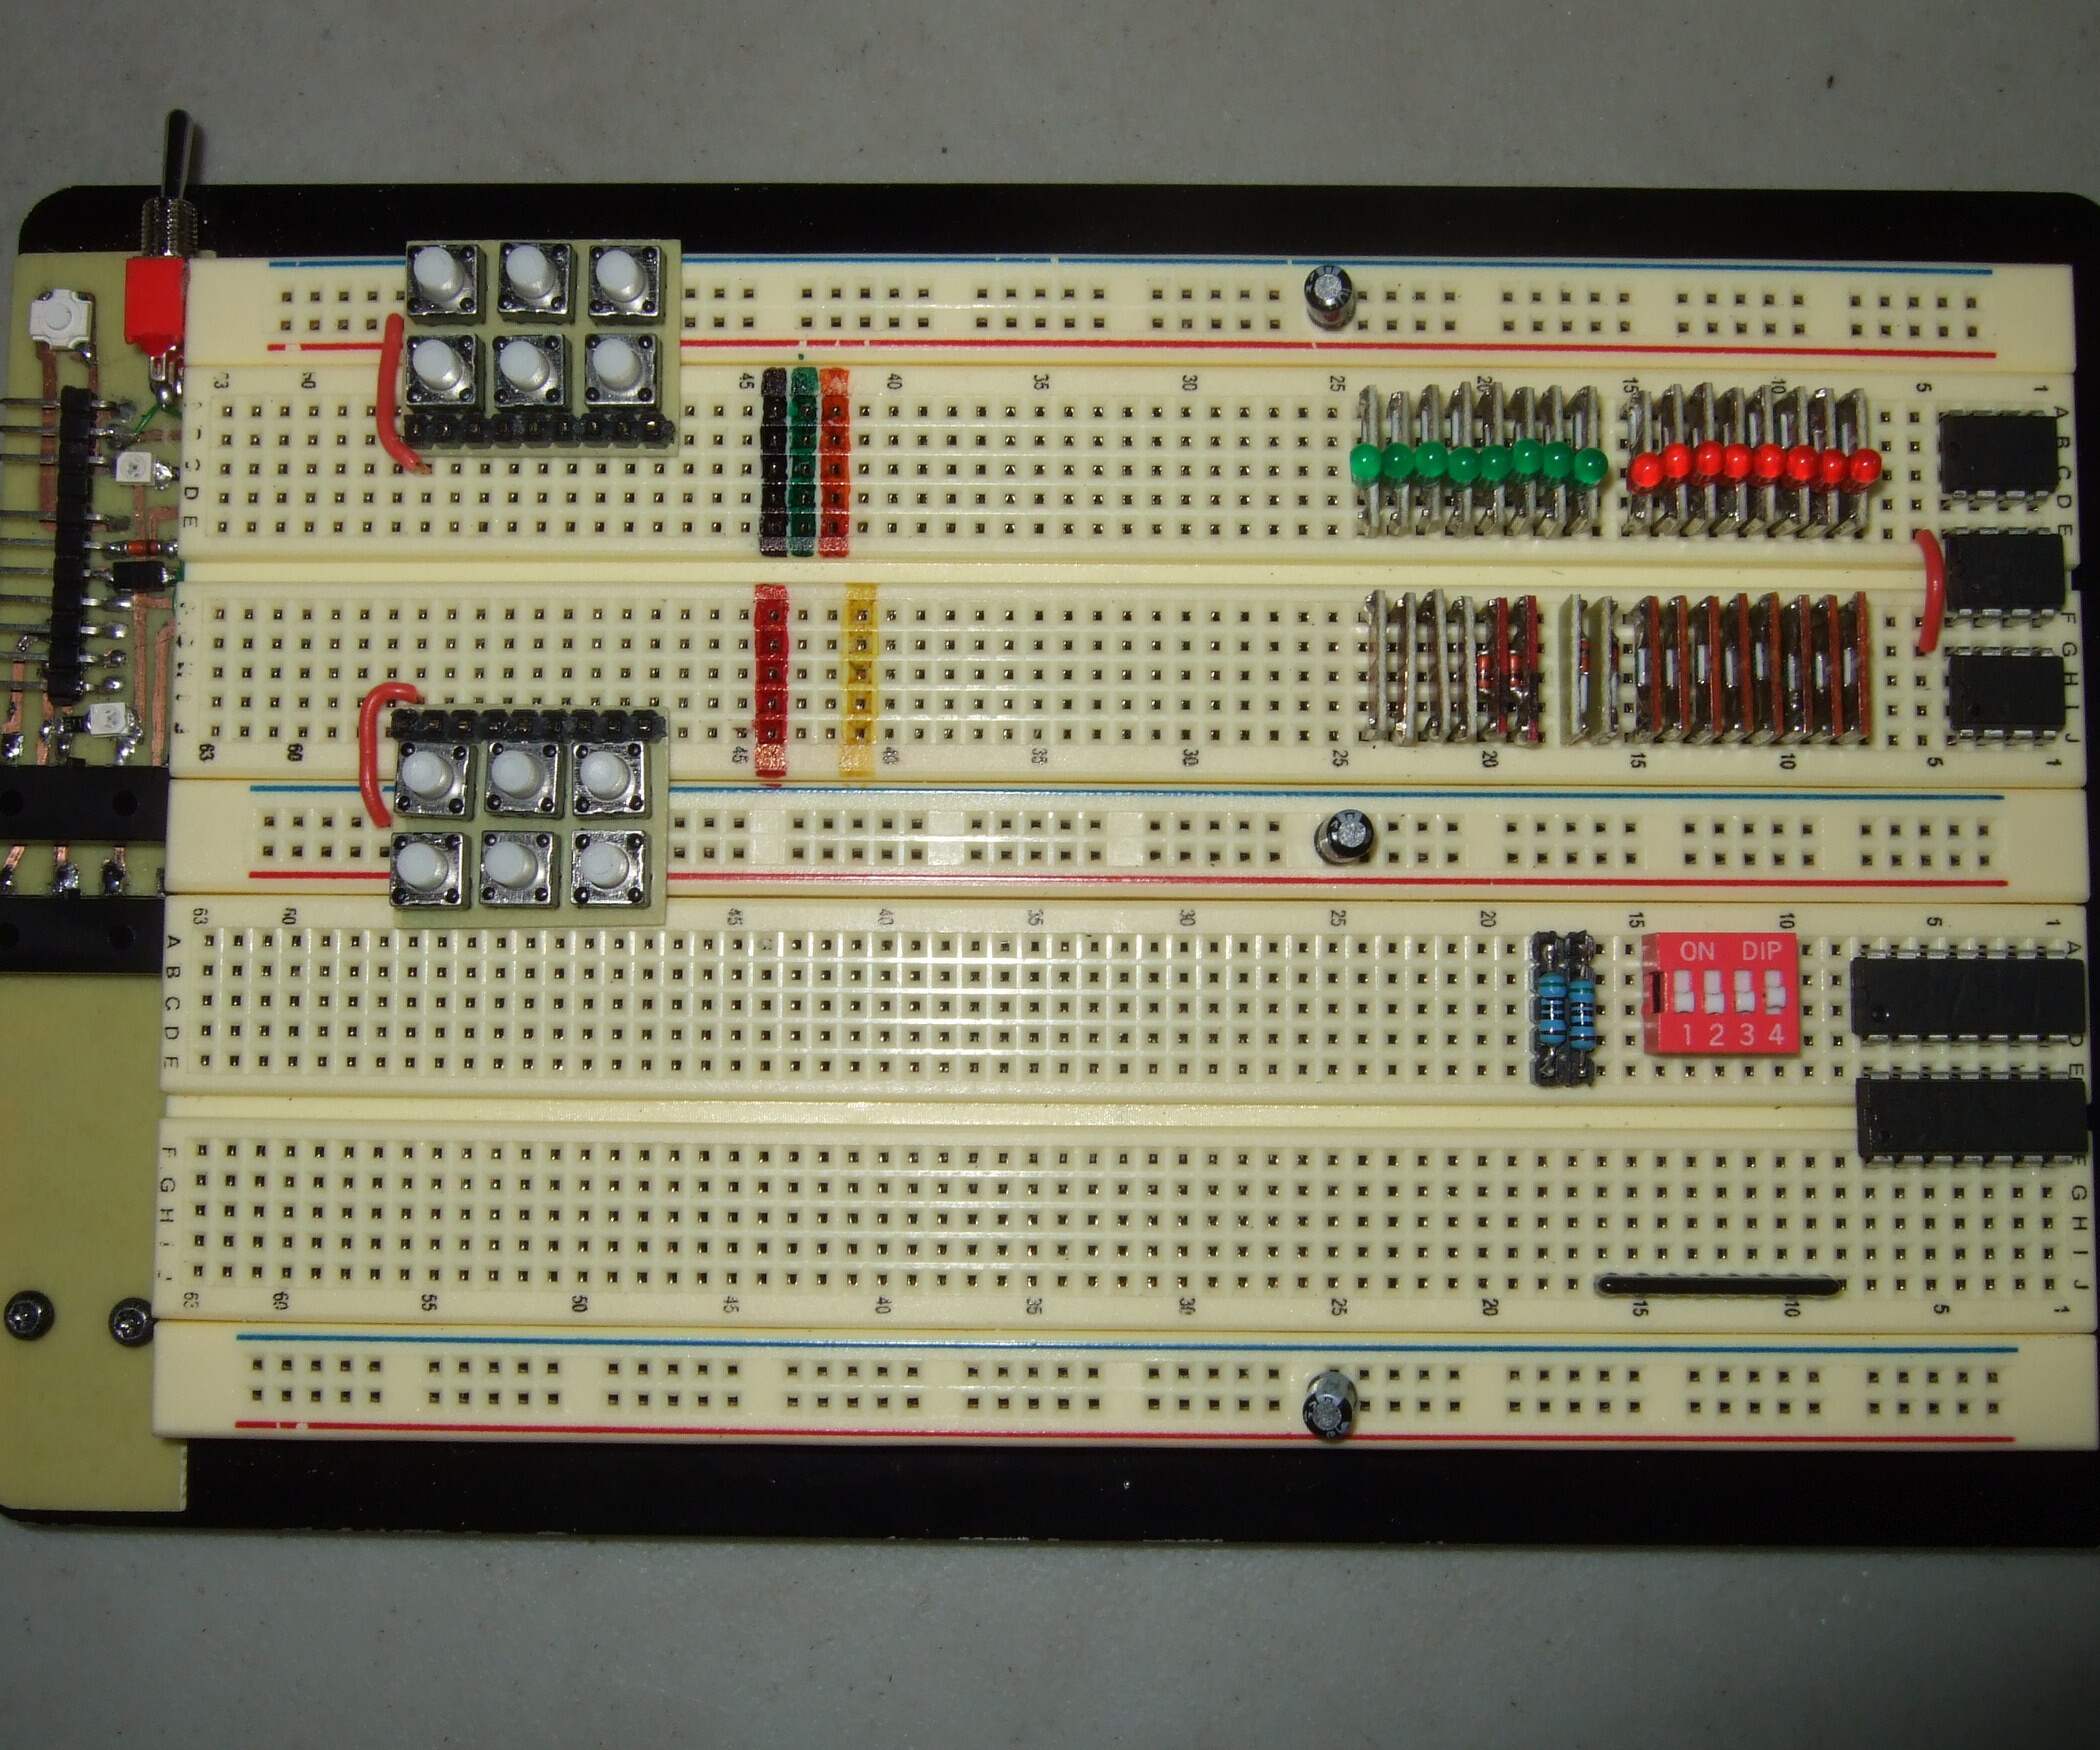
We’ll trick out our breadboards with most useful components and setups for hacking. Buttons, switches, LED’s, couple useful IC’s. An example:
We’ll breadboard a power regulator and some simple circuits to get a feel for breadboarding & examine how power circuitry works. We’ll test everything and use common test gear in the process: multimeter, oscilliscope, etc
We’ll take a break, and then come back for a 2nd class where we etch the PCB for the power regulator and solder it up. It sits on your breadboard and provides safe, regulated, won’t blow up your chips & electronics 5V and 3.3V. It will plug into a wall-wart plug or battery to get power (this is safer than making a mains powered power supply if you’re a beginner).
If you’re getting into microcontrollers, widgets from sparkfun / adafruit, etc. You absolutely need a breadboard power regulator with safe 5V and 3.3V. Parts these days are really sensitive to over-voltage and having this will keep you from frying your expensive project parts.
How about we keep it simple with just 5V and 3.3V to start. I do these with +12 / -12V, floating grounds, etc, but that’s for more obscure stuff and analog design. I think most people are going to be in the digital / 5V analog world.
I’ll make sure everyone gets trimmers, LEDs, a few CMOS and/or 555 chips, useful resistors, etc.
Can people supply their own breadboards, or use one of ours at the hive if you don’t have one yet??
I generally use 830 point (longer style) breadboards. My main breadboard is a double (like above). I prefer having a solid backing or metal plate behind it (you can add this part to the basic cheap breadboards).
.
