The BIG Lazor has now been calibrated. You will most definitely need to be trained on how to operate it as it has a few features that are critical (and weak in design) that you must be aware of or you could destroy it (or yourself.)
If you are familiar with the old laser, the new one’s usage should be pretty simple, however, the differences, unfortunately, are in calibration before cutting and safety.
I will work with Jon on building out some form of official training so that we can put that bad boy to use. Due to the major power increase, we need to run through a series of test cuts to figure out exactly what the appropriate settings are.
Elly and I did some cuts last night and noted an issue: the size of cuts aren’t calibrated correctly. What was supposed to be a 3cm cut ended up being ~3.4cm. I looked around and didn’t immediately see where to update this sort of calibration.
Ok… I re-calibrated the Z axis homing, so it is now “spot” on. I wanted to set it up to use the metal plug, but to do that, we need to raise the probe… however, it won’t raise up far enough for us to actually use the included (and already mounted) clamp… when I move it up to the top and raise the “pen” sensor, it’s still not high enough to clear.
I tried setting the value in the offset value, but it was going in the wrong direction and a negative value had no effect.
I think we should go with a cap sensor like what is on the old laser and mount it the exact same way… that would definitely be the way to go so people can use either laser the same way.
More progress on the BA Lazor… Yesterday, we discovered a very bad design flaw with the z table and the auto homing. If the sensor isn’t triggered correctly (while it appears to be in the home position) the table will just keep right on lifting up… clean out of the machine! This wouldn’t be so bad, except that hit hits the laser end effector at one end and doesn’t hit anything at the other end, which causes the motors to skip steps and the table will literally raise one side and not the other… causing a serious alignment issue… like 6" out of alignment!!! Jon ordered a new sensor like the one on the old laser… we’ll fit it exactly the same way as the old laser is done so we can avoid this issue all together.
During the debugging of this, we decided to also remove the honeycomb until we can trim it down to actually fit and not collide with anything. The knife blades in there are sufficient to hold larger parts… if you have a small part you want to cut, I recommend placing a flat sheet under it on the blades.
I ran a few test cuts yesterday and Elly also discovered another nasty surprise… with the current software, we have to change the steps per mm for the z motor for each laser we want to run… unfortunately, the small laser and the large laser use two different settings (6400 small and 5450 large) and if you make a mistake, you can really screw it up as well (aside from the parts coming out too small or too large.) We need to move to a separate computer to run the large laser to make sure this doesn’t damage either one. I think Ryan mentioned something about a tablet specific to it… and I think that’s a fantastic idea.
That tablet is configured and ready to go. It’s driven the laser previously. I can bring it with me on Tuesday.
The only trepidation I have is that it’s a high DPI screen, and RDP has been intentionally crippled in recent versions of Windows. This may make using it uncomfortable and unreliable.
Alternatively, I have multiple small form factor PCs available, and one similarly specced ThinkPad courtesy of Dave B. I’m sure we can bodge at least one dedicated control machine together this week. It may be prudent to clone the machine and have identical setups for both lasers.
This screams “VM”
i.e. make a VM, get it set up, make a copy of it in case someone fucks it up and put vmware player / whateverelse on there. Run the software out of virt, done. Gets fucked up? Put the master VM back there. up and running again in no time flat.
-D
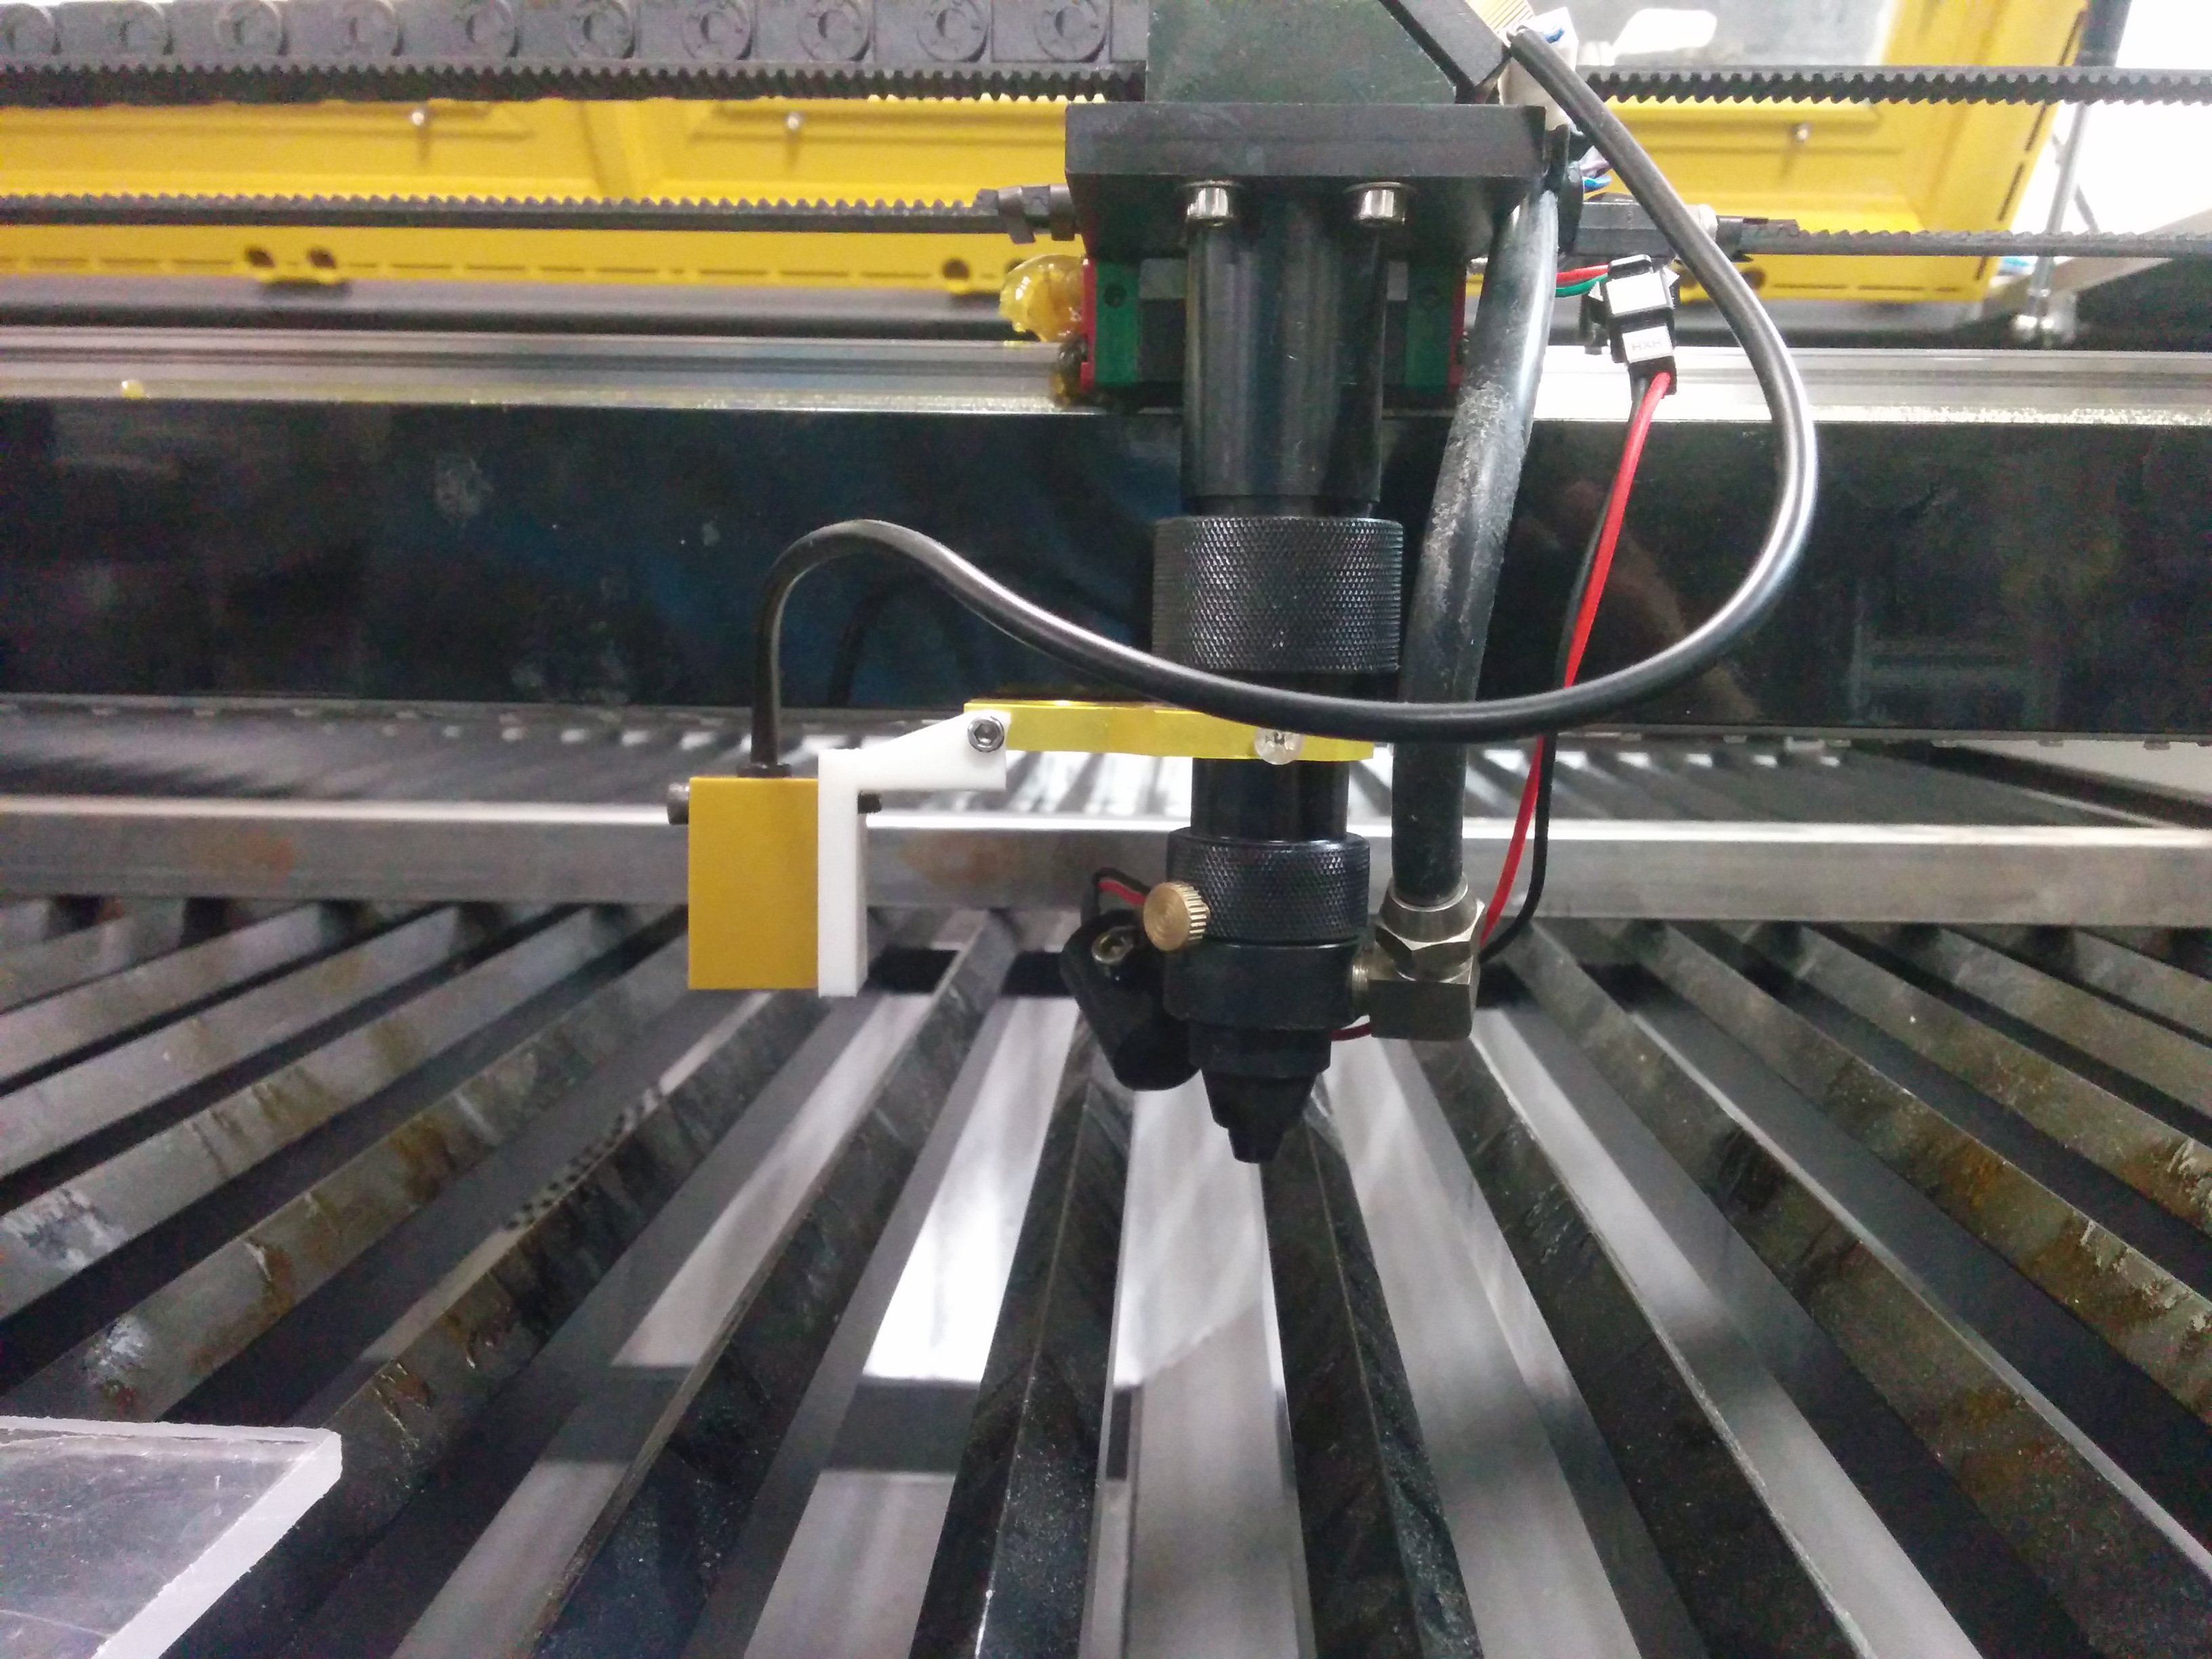
I made a bracket to attach the new Z height sensor. It will attach directly to the same bracket the old pen style switch attached.
We’re going to need to rethink the wiring… we need to re-purpose one line as a 24v source… and possibly use the ground from the spotting laser… this way we don’t have to run new wires. We’re going to need to get some new connectors at the head to support this, but it looks like it’ll be pretty easy to hook up.
Attached is a picture of the new clamp, which I’ve already printed out and left on the laser.
Bill - In no way that I imagined the clamp clamping did it fit, so for now
it is cantilevered out pretty far. I'm assuming that the sensor was
supposed to be under the clamp part and the clamp was supposed to fit under
the current z sensor mounting bracket. Both were off by a few mm. I'll let
you mount it how you please.
I did a quick focus by adjusting org-offset to 2.5 under machine settings >
feeding. The whole laser head may need to be tweaked a bit since I
accidentally rammed it in to the lid (can explain in person).
Yeah…it’s 180 degrees out… but you have to rotate it a bit to avoid the screw for the air assist nozzle.
(I did that without the assistance of actually having the sensor in hand… the model is in my folder on the laser computer if you want to tweak it… otherwise I can do that Tomorrow night.)
The lazor’s laser path is now calibrated… again!!! The z height is also calibrated. I want to replace the plastic sponge screws with real screws to hold the Z probe in place, but other than that, I’m happy with how it works now.
I think it is just about ready for general use. I think we just need to get new hoses for the chiller and compressed air lines and we’ll be good to go.
I can see our big laser having the exact same issue… only worse… as the bed in ours has several times the mass of theirs.
However, I can see this getting close to a working idea on the small laser.
One thought on the big one is to develop some form of extending focus lens… one that is stepper controlled so that it can move up and down (like the z on the shapoko) instead of moving the bed.
Would be kind of fun, however, the utility of such a thing might be lost in the complexity.
 I wanted to set it up to use the metal plug, but to do that, we need to raise the probe… however, it won’t raise up far enough for us to actually use the included (and already mounted) clamp… when I move it up to the top and raise the “pen” sensor, it’s still not high enough to clear.