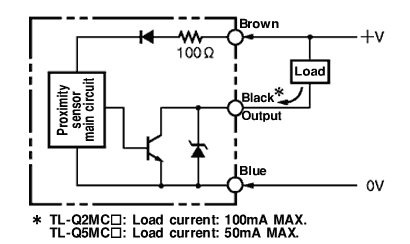
I took a look at the laser yesterday. I can wire up the sensor. However, the old sensor, brass ring clamp, & printed mount were removed and placed in a box.
Could someone point me to the diagram / documentation showing where ring is mounted, how sensor was connected before, etc. It seems like an easy job, I’d just prefer to get the info from someone who has it and not have to reinvent the wheel…
Then I can design and print up a new mount in nylon, mount it, wire it, test and calibrate.
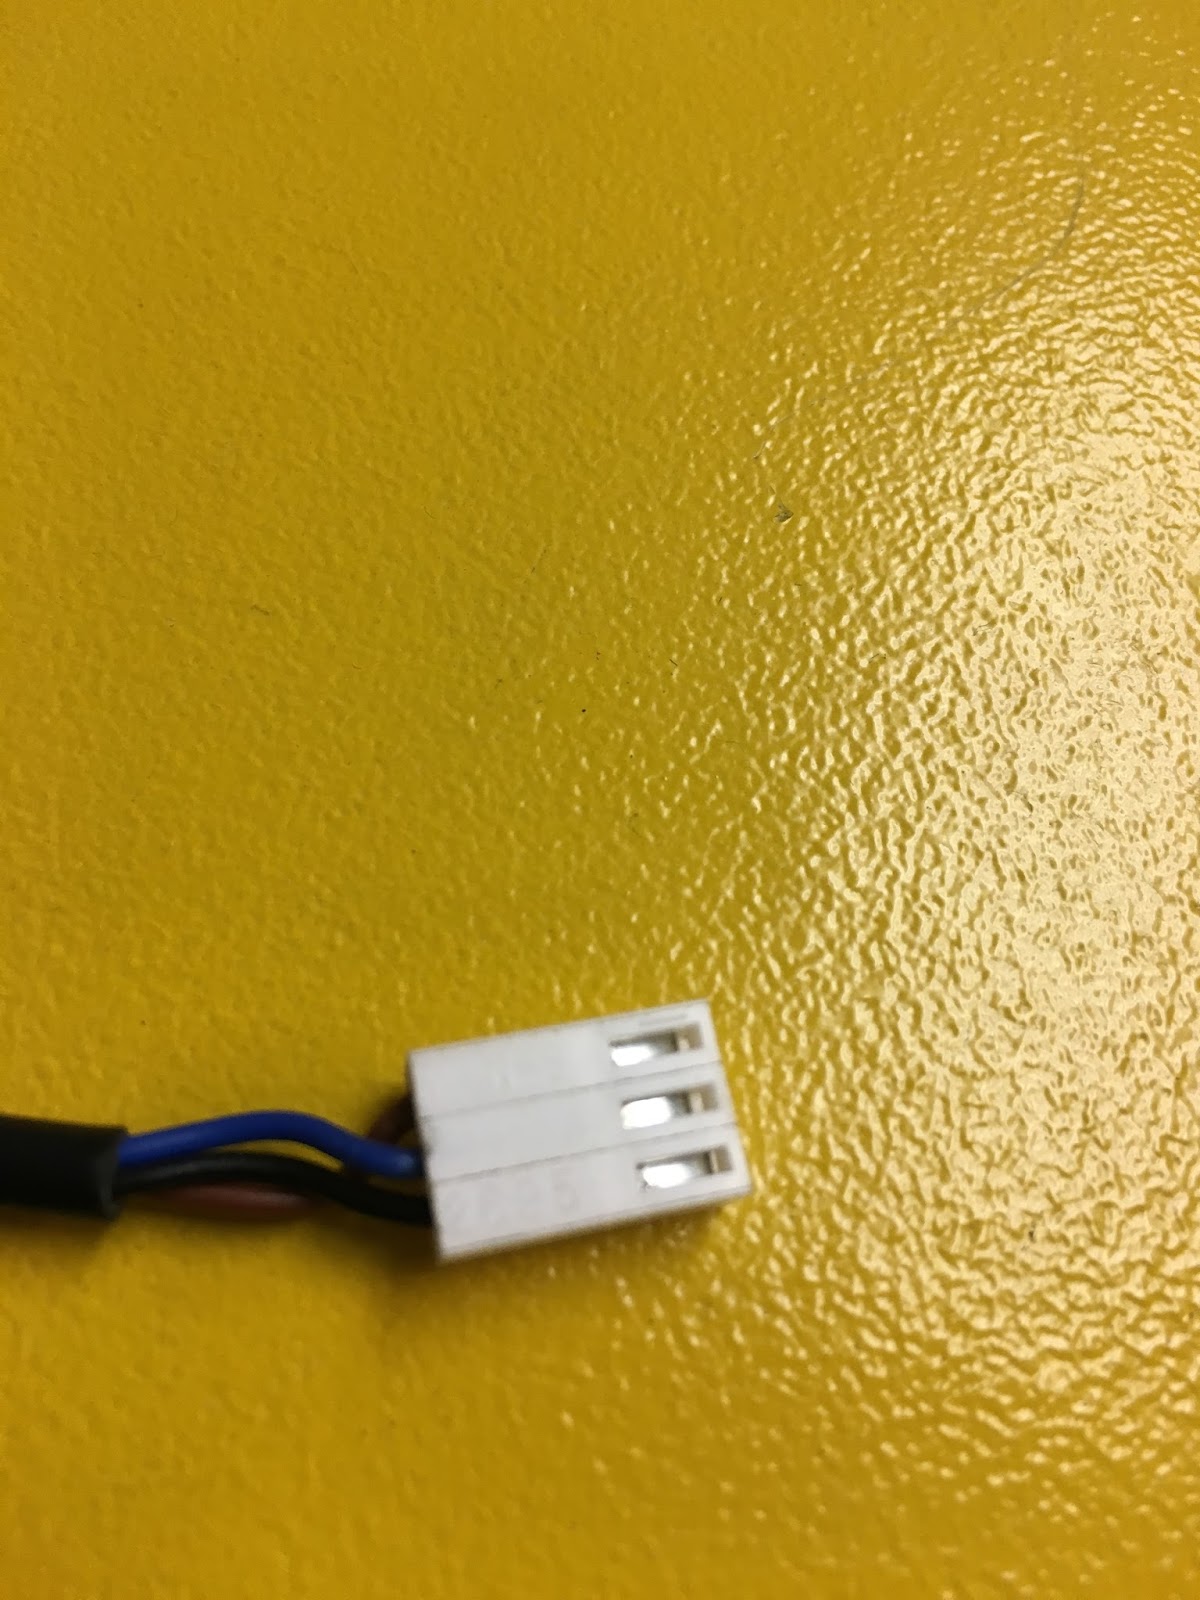
There are two sensors in the box by the way, I already wired and crimped the connector on one of them.
There is already a mount printed, it’s grey and in the same box I believe Ryan printed it after load testing(and breaking it lol) the old one. The design is off by a small amount, some sanding can make this one fit but may take away from it’s load bearing capabilities(not much stress will be on this portion of the part as far as I can tell). I was going to sand it to fit today and e-mail a copy of the .stl file to Brad per Dustin as he would like to try and machine the part but got distracted by the CNC and ran out of time.
Obviously you know this, as the pictures seem correct. I did see the grey mount, but I didn’t know how the brass ring is mounted, nor where the screws were, etc. Rather than fumble with it and possibly knock optics out of alignment or worse, I posted.
Sounds like you have it under control Tim.
A machined bracket would be ideal. If you need 2nd best, send me the STL and I can print it in strong nylon or tech-G. Hundreds of times stronger than PLA or ABS…
I was able to snug fit the 3d printed mount into the brass bracket, there is a size discreptancy I mentioned previously but can be resolved with sanding. Essentially the screw holes on the 3d printed mount and the sensor don't align(I had this issue with the first mount).
Just guessing about what to do with the brass bracket after this, but the ring seems to be the right size to surround the lazer and tighten around it. If anyone knows better than us feel free to jump in. I am just spit balling what appears to fit.
Oh and as for the screws I scrounged the hive(with Mikes help, thanks Mike) to locate ones that fit and cut them down to size. I have a pretty good idea where they are now, I believe they are in the electronics are on top of the workbench with the cad pc, in one of the plastic organizers.
I put a bunch of small assorted screws I’ve scrounged in those cases. I’ll be sorting more tomorrow. I anticipate that the spread of mess on the cad table and behind it will be gone this week.
We do need to order small screw sets. Brad got some, but imperial only and down to 4-40 (no nuts). I’ll throw it in the warden budget, I know what we need.
Finally, I mostly finished the reflow toaster. It works. I need to finish insulating and sealing it, but when I came in yesterday to do so, the Kapton tape I keep for electronics projects and reflow had disappeared. Regardless, all the curves are set and the PID is pretty well tuned. Don’t solder with it yet, though. I need to tape up that insulation. Prolonged use could heat up the control electronics too much without that kapton sealing the heat in.
I’ll also try to bring in my own small screw sets and also adjust the model so the holes do align.