Hey anyone know what’s up with the laser. it had what looks loke duct tape wrapped around the probe and laser head that I dont remember seeing last night? I didn’t see any note.
Take it off. That’s Brett Pepitones answer to air on the cut.
Can’t duck it …
Can’t blame me this time. I took everything off when I was done last time.
Sorry for the false accusation.
The duct tape does point out we have a problem with air flow. The compressor doesn’t seem to be the problem.
At issue appears to be the change to 127 mm in lens focal length. The new lens improves the cut depth, but puts the cut point further away from the air orifice.
Additionally, the longer taper to the focal point requires a larger orifice in the short cone to clear the beam.
Duct tape is not a good solution. Let’s discuss solutions.
One alternative is to make a new longer orifice cone which would put a smaller exit hole closer to the cut.
It could be closer to the cut, but needs to clear the surface of the machine frame around the z-table. The beam exit orifice could also be smaller, as it is closer to the focal point.
Making a new cone would be a good lathe training project. (We have the technology and the raw materials) It could be made in a few hours including training on the lathe.
Critical to making a small orifice work is maintaining good beam alignment. Beam alignment should not drift, unless someone is knocking the lenses around.
As with anything made by humans, there are errors in mirrors, lenses and alignment. These mean that the roughly 6 mm circular light beam coming out of the tube gets bounced three times and then focused to a theoretical tiny point.
Alignment may be tested by a series of momentary 1% power pulse burns on the same spot from various z-heights. example:30 mm to 200 mm. Though the diameter of the burn changes with z-height, a well aligned beam makes dead concentric burns at each height.
At last test the center spot was withing 1 mm of the center of burns from all heights. Alignment is a team sport best played after cleaning mirrors and lenses by two or more and requires about an hour to complete.
A new cone. still might not provide all the air desired at the cut. If after making a new orifice air is still a problem, then add a flex tube, which can be manually adjusted to blow close to the cut.
Something like one of these. They are cheap.
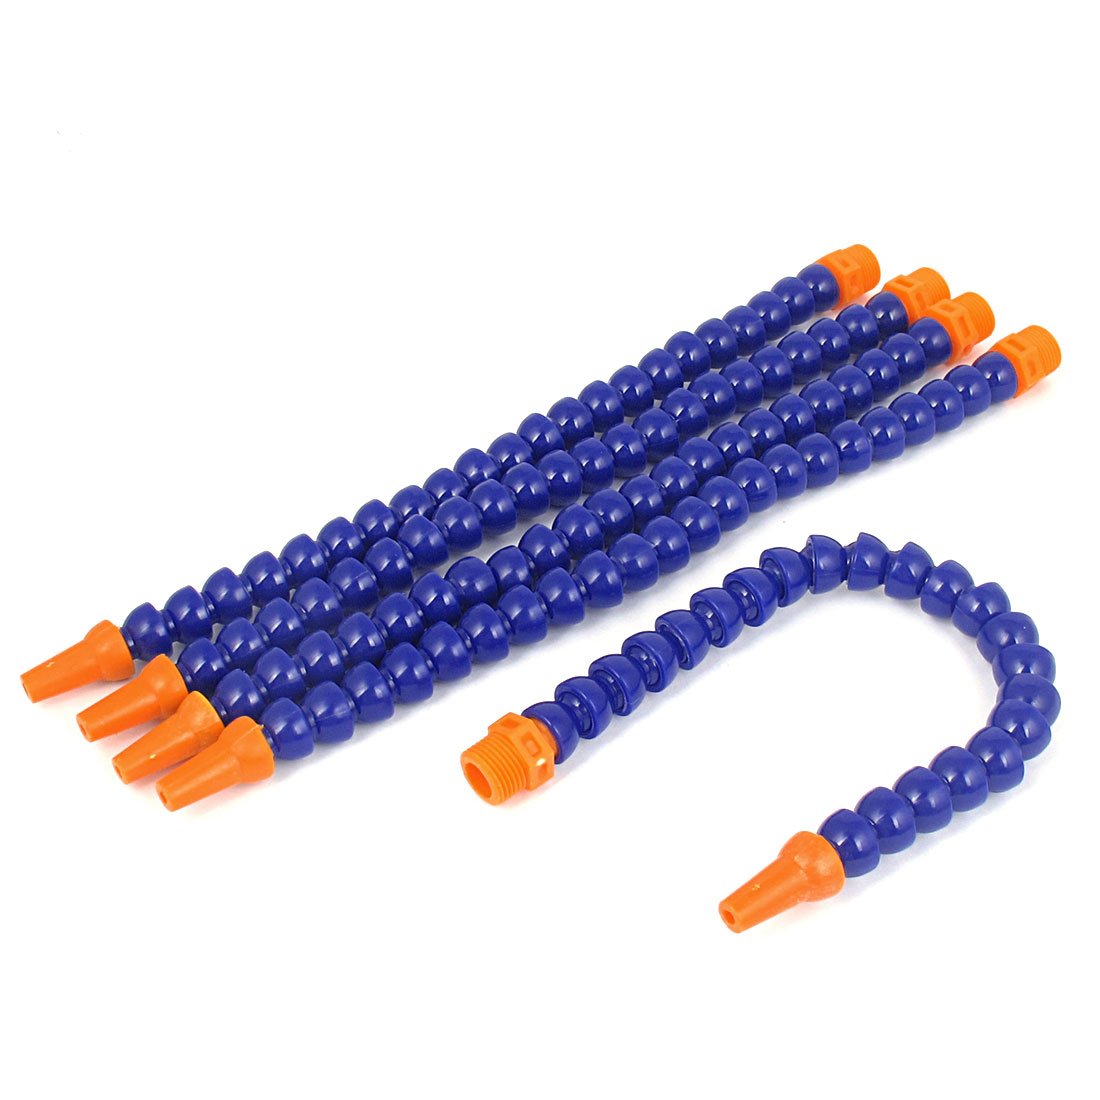
I think we have one or two in the mill cabinet as I was going to put them on the mill.
One challenge with the cone is that they laser alignment isn’t good enough to stay in the center. I much prefer your live nozzle idea. I’m working a plan-b with copper tubing in parallel.
Ran a test of the laser alignment today. See attached photo.
Hung a target from the 3rd Mirror/Lens carriage so the target was aligned where ever the carriage moved.
Manually adjusted the z-distance from the lens to target with the gauge.
Then moved the carriage from one corner to another of the x,y bed plane.
Fired a 1% burn in each corner to see if the dot wandered as the carriage moved.
Conclusion: The burn dot did not waiver. At least not much if any at all.
Compare the four corner burns to the other two comparison burns in this photo.
- Single burn for comparison to the accumulated size of four burns.
- The spot size of 4 burns in the same x,y coord.
