I cleaned all the mirrors, the vacuum tube window, and the electrical contacts to the tube. All were extremely dirty. High voltage wires were corroded, so I discharged the tube and cleaned the conntacts.
Dave V and I tested it in the front right corner (the corner which was previously bad), and it cut through 3/8" acrylic cleanly in one reasonably quick pass, as it should.
I checked the Z-Datum, and it is well aligned.
I’d appreciate it if someone could either run some more tests, or a nice sized job and let me know how it performs. I think it should be completely useable now, and I we can do further alignment and service when we move it to the annex.
In the future, we need to think seriously about continuously filtering dust and fumes out of the air. Clean air keeps machines happy too!
Unfortunately, the big laser doesn’t work correctly!
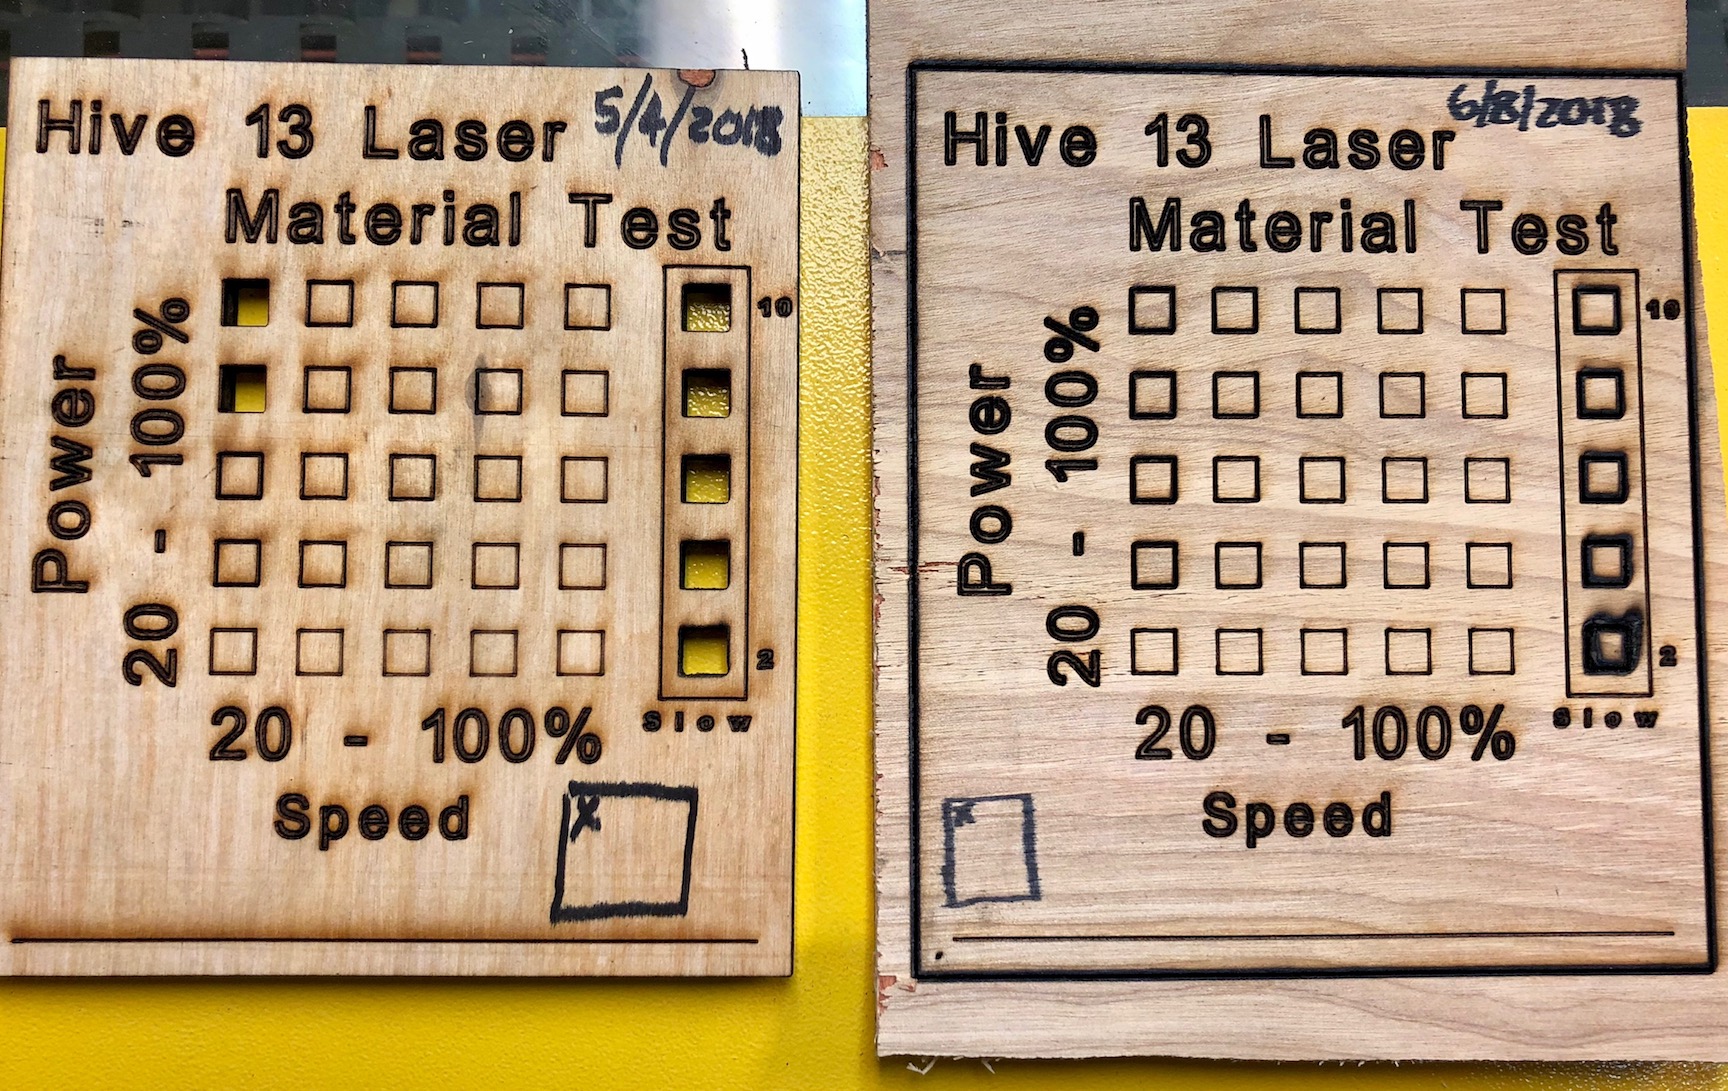
The laser materials test can not cut through even in the top left corner. I’m not sure what it is, but looking at the end of the laser tube reveals a dark soot on the inside of it, as if it was run without water. Alignment looks good… power is dismal. (It can etch… but can’t cut through 1/4" birch plywood… stuff that I just cut last week.)
Huh, it was really suffering before Dave and I cleaned it up, and it did an okay job on the test pieces we ran, even on the far corner of the bed. It really did cut clean through 1/4" material like it should, but yes, at a lower power and slower speed than we’ve enjoyed in the past, but not pathetic. At that moment, it was usable. A couple of the mirrors were so covered in crap that they just looked black prior to cleaning. So, I just assumed that was our biggest problem.
I did notice that the power supply and plugs to the chiller and air pump were being finicky. A couple of times, when we started it up, the chiller and / or the pump would not turn on. I traced it to the GFCI. After tightening a few connectors and plugs, it seemed happy.
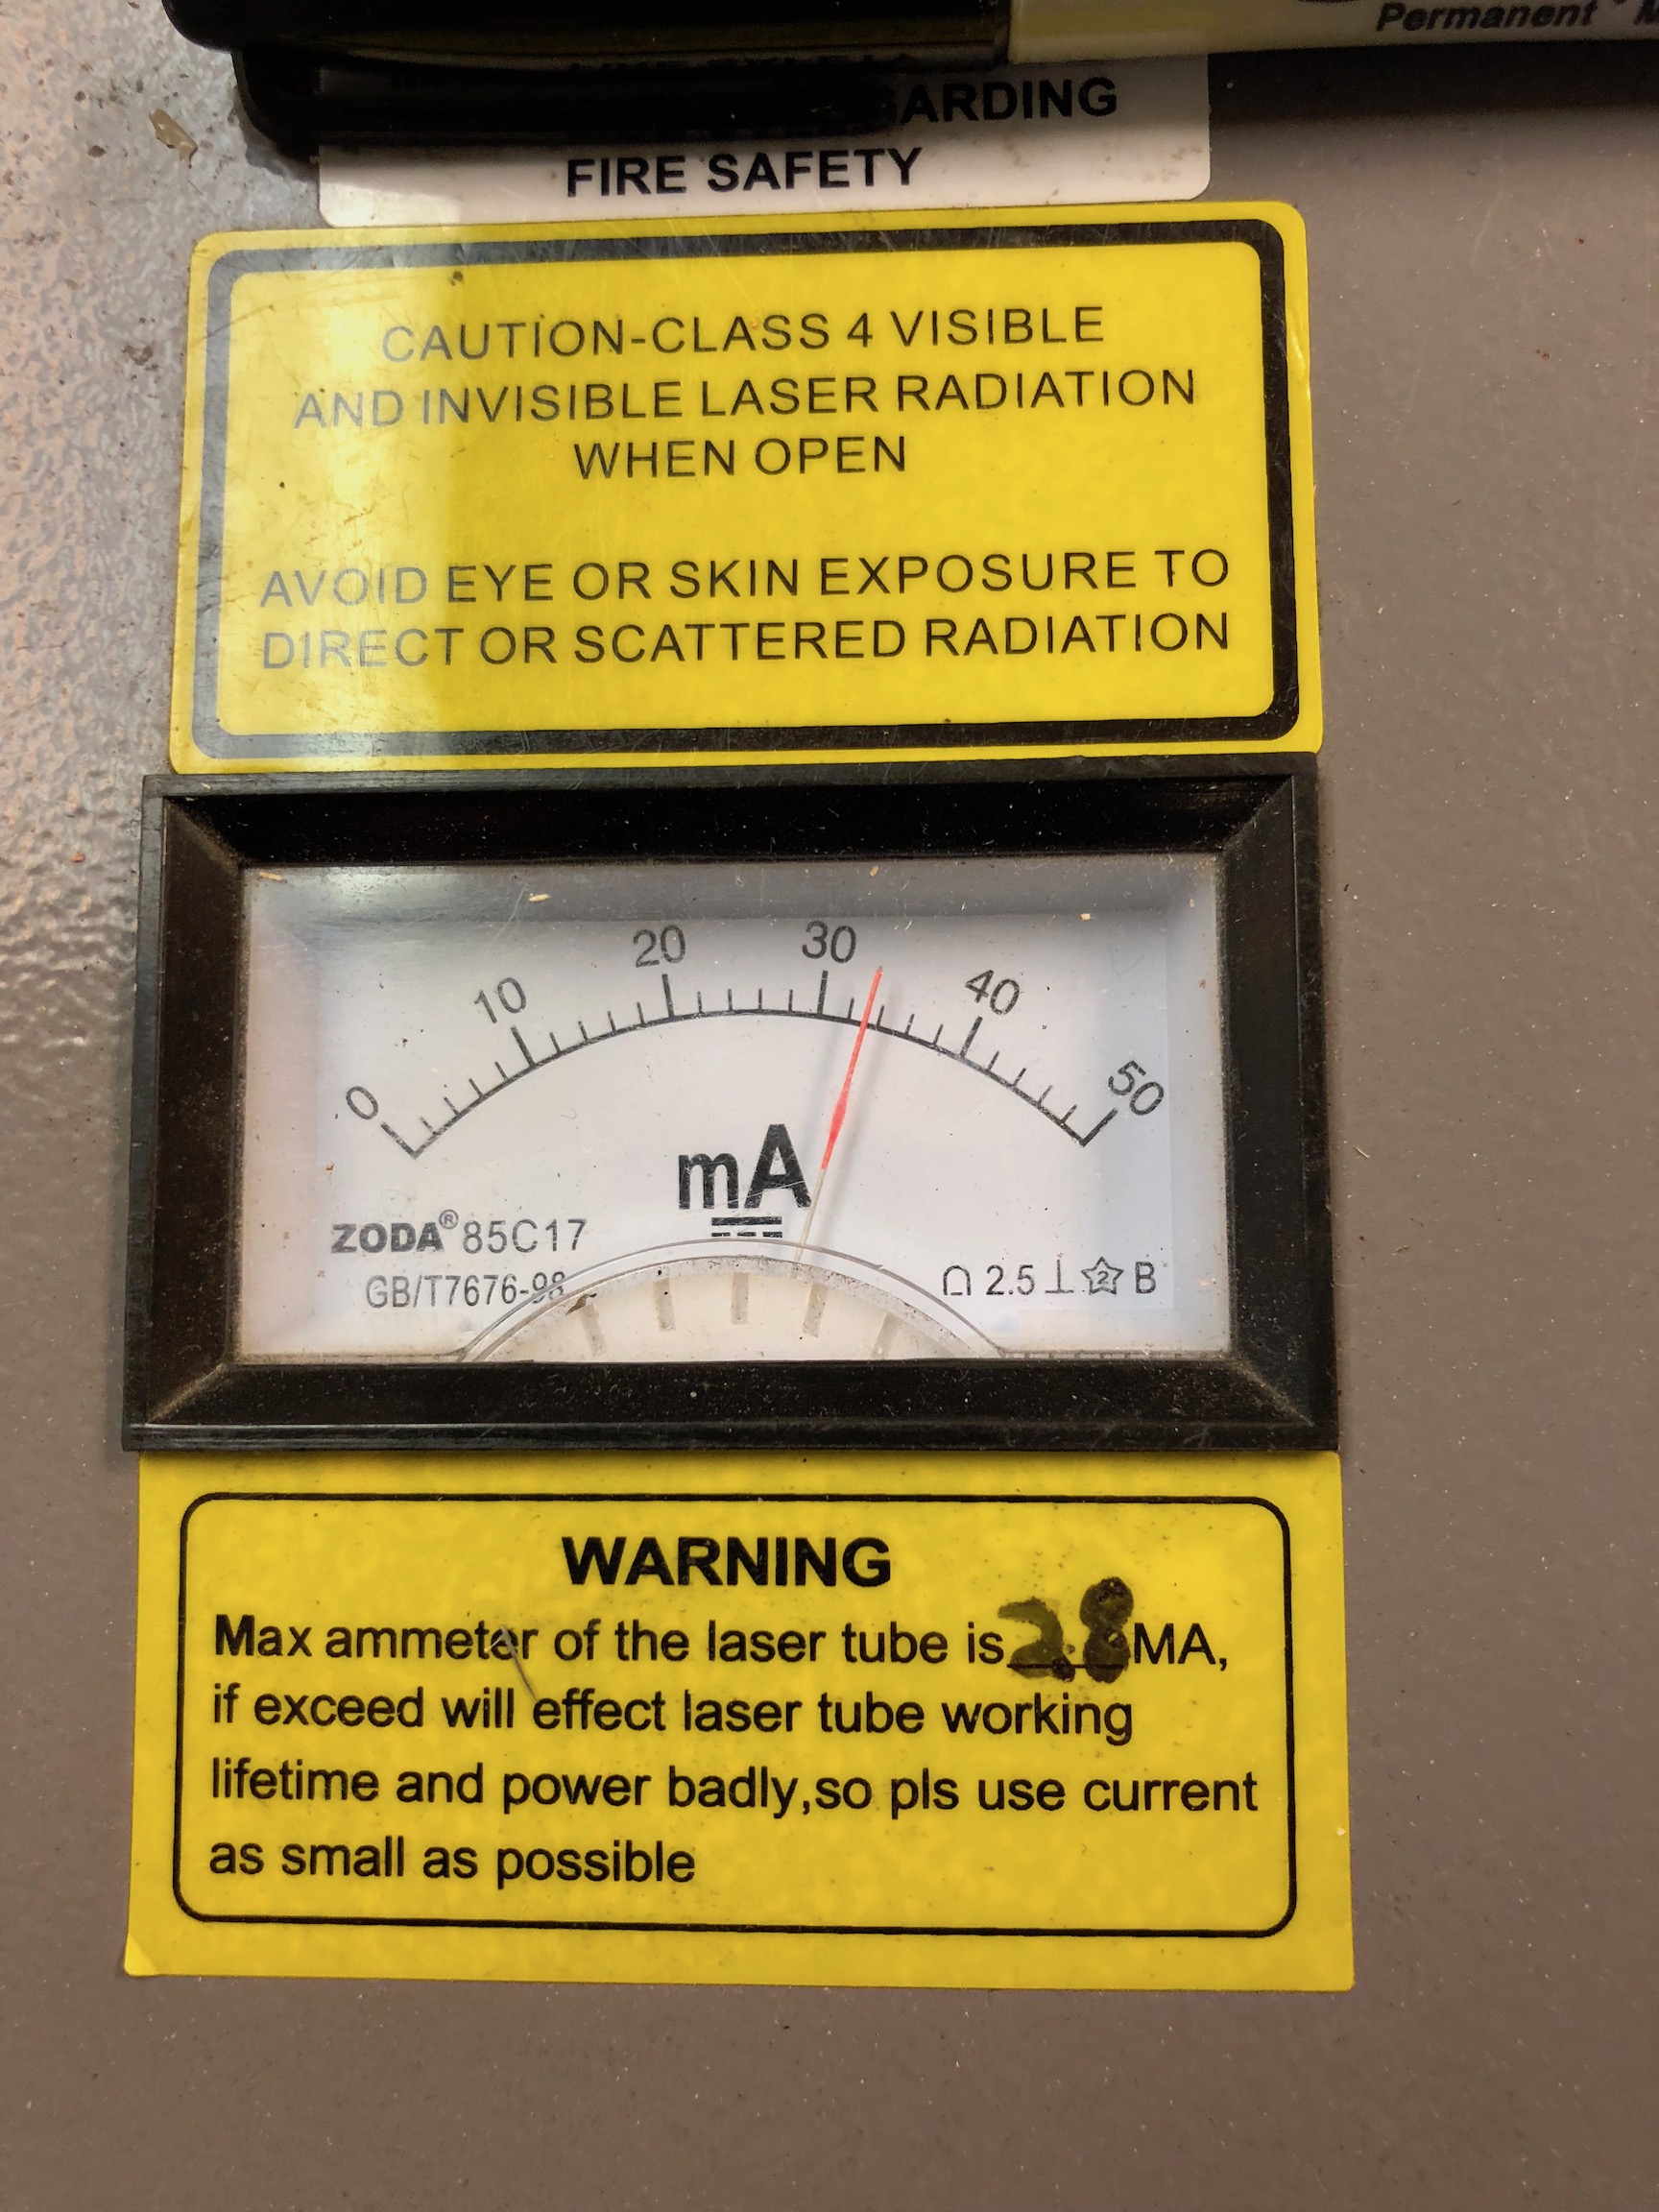
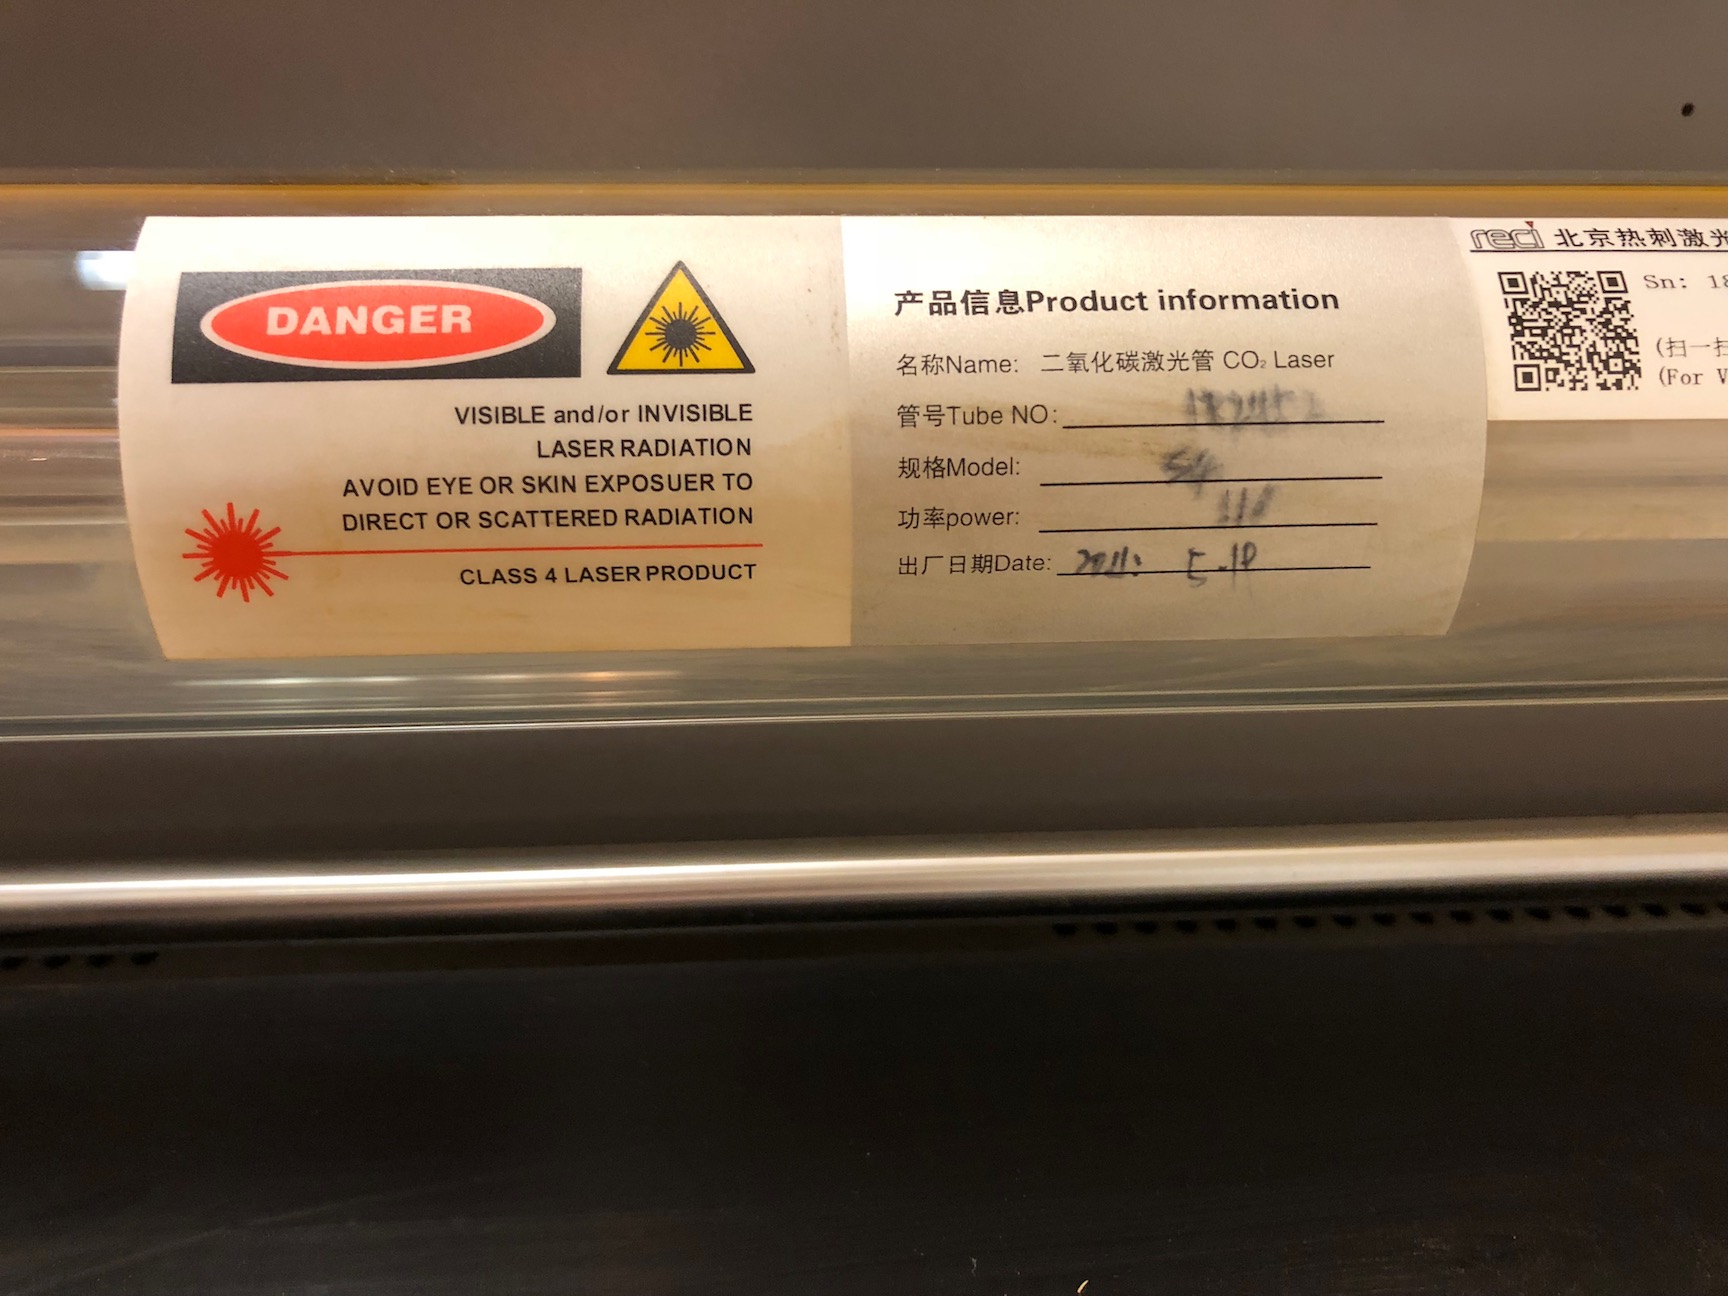
Agreed, the tube shows wear. There was oxidization on the ends, but the window was clear and the scorching was not too bad, like some I’ve seen. I’m certain that this laser has been run without adequate water in the chiller; I’m not sure for how long, or the extent of damage. We should plan to obtain a new tube, but also figure out why everything is not powering the way it should.
It seems likely that the chiller, water pump, & air pump may have been intermittent. That would mean that laser may have been running without water cooling without most folks knowing. We can’t have that.
Is the alarm output cable from the chiller hooked up? It’s a 3 pin round amphenol style connector.
Also, does our laser even have the relays that respond to the alarm signals? I just read a forum post in which someone mentioned that over-temperature circuitry was optional when buying the same laser model…
I found I3 detroit’s reference and copy of the installation. They have almost the exact same model.
After looking into it further, I seems that the laser tube is shot. Also, while I was behind there, somehow it tripped the circuit breaker as I was standing there. That’s not good!
If we get a new tube, I’d be happy to install it. (Also, look into the electrical gremlin that is obviously there.)
The lower coolant alarm wire is connected to the chiller and goes into the laser cabinet. Not sure about from there. We should probably do a test by draining the coolant and seeing if the laser shows the alarm.
“Let’s switch to small laser and stop using the big one.”
But some of us need the larger area! This was always a known cost of having the laser and is completely acceptable. (The little laser has never had a replacement tube, amazingly enough… and we’ve made beaucoup bucks off of it charging for time… well more than enough to cover the cost of the replacement tube for the big one.)
Like I said, I have no issue doing the work fixing it… it’s pretty simple. The electrical gremlin should be easy to trace as well. I stood behind the laser and tripped it, so that tells me that it’s a mechanical disconnect somewhere.
I was in yesterday and we cleared stuff up off the small laser & I reconnected everything and confirmed water and air were working, and after fighting the software once again (description below) was 30 seconds from downloading a design to the laser when the breaker tripped. That was the last straw so I updated the fix it white board and went home. Breaker still needs to be reset. So, it should be working, but I didn’t actually test it.
As for the laser software. Can somebody describe a workflow for what software and file formats they use to consistently get designs into easycut? I’ve tried various things that include Illustrator, Inkscape, .AI and .DXF files, and when I try importing, nothing happens. One bit of feedback I got was that you just have to try over and over until it works. We don’t have this documented well in the wiki, so I’d like to figure it out and do so.
Sounds like the circuit breaker tripping needs priority.
Let’s keep a log of what was going on when it happens. We can use this thread or start a new one. We could even put a poster/whiteboard in the FabLab.
When I was there Friday it tripped while I was doing test cuts and the A/C was on.
I reset the breaker and unplugged the A/C and it worked till I left.
The A/C unit is a big possibility but I don’t know what else is on that circuit. If it still tripped with the A/C unplugged that would pull it out of the cause.
The big laser is on a separate circuit (220 I think) so it didn’t care that the wall outlet was tripped. (Which is scary because of no exhaust air)
It certainly could be something on the power strip (exhaust fan, water pump, cooling fans, computer).
The large laser will be fixed, and I didn’t mean to suggest otherwise. The cost of a new tube, replacement mirrors, probably replacement GFCI, are all expected expenses. Replacing laser tubes is part of having a laser, and, indeed has been budgeted (We considered this when we removed per-minute fees on laser usage).
I’ll start another thread to get things underway, but here are my thoughts on replacement / repair:
Replace tube. Currently 100W S4 CO2 tube. $600-$800, maybe cheaper.
Replace Mirrors - first surface mirrors of same manufacture are $4-$8 per mirror. We might as well get an extra set while we’re at it.
Power supply repair. 0-$300. $300 is unlikely event of replacement.
Additional fail safes - ie lockout, flow sensor to ensure water is actually moving not just that power is going to the pump, etc. A few sensors, a few relays, some wiring…
Power all laser systems on one interconnected electrical system (not just talking about breakers). An electrical failure should kill the whole system – this is fail-safe. An electrical glitch should NOT kill only the cooler, water pump, exhaust. That’s not.
I’m doing research currently and looking into the best options. I think, foremost, we need to make changes to our setup to make the laser easy and safe to use (for the operator and the laser). Let’s add some industrial style sensors, features so that it is not possible to run the tube dry.
The laser actually uses LaserDraw 5. There are icons on the start menu for launching the software… but if you haven’t been through training, then you wouldn’t have that knowledge. We do have a training deck that describes the software.
As for the power tripping… that’s always happened since we installed that air conditioner unit on the same circuit as the exhaust fan. We need to separate those two. (We also have the computer on that same one.) The easy fix (for now) is to simply turn off the air conditioner when running the exhaust fan. (The small laser’s accessories are also on that same circuit… just FYI.)
I thought at one point we had a dedicated circuit for the Air Conditioner’s… but perhaps that plug was too conveniently located to the laser.
INKSCAPE: uncheck the polylines option on export. Make sure you’re selecting “DXF cutting plotter” export (I think there are 2). Also, set units to mm, and uncheck the “robo” whatever box if it’s there. Finally, using “groups”. Also, for DXF, make sure that your graphics are all paths, and there’s not a bitmap or non-path layer in there.
ADOBE ILLUSTRATOR: Export a .dxf in the older dxf compatibility format (2014, I think). Also, like inskscape, make sure that it’s pretty vanilla on settings and in mm.
DXF can hold various types of information, but laser software just wants paths (vectors). In design software it’s easy to get a non-path layer or a fancy object mixed in there, and it could go through to the dxf file too. If in doubt, simplify, flatten, remove unnecessary stuff from the graphics before going to a DXF.